Photography can be an incredibly powerful way of getting your message across in presentations. Though there are lots of ways photos can be edited, one of the most common things our clients want to do with an image is to isolate the subject by removing the background. There are an increasing number of ways to do this, some using clever AI. But which is the best? Let’s find out!
We’re going to cover these options for working in PowerPoint itself:
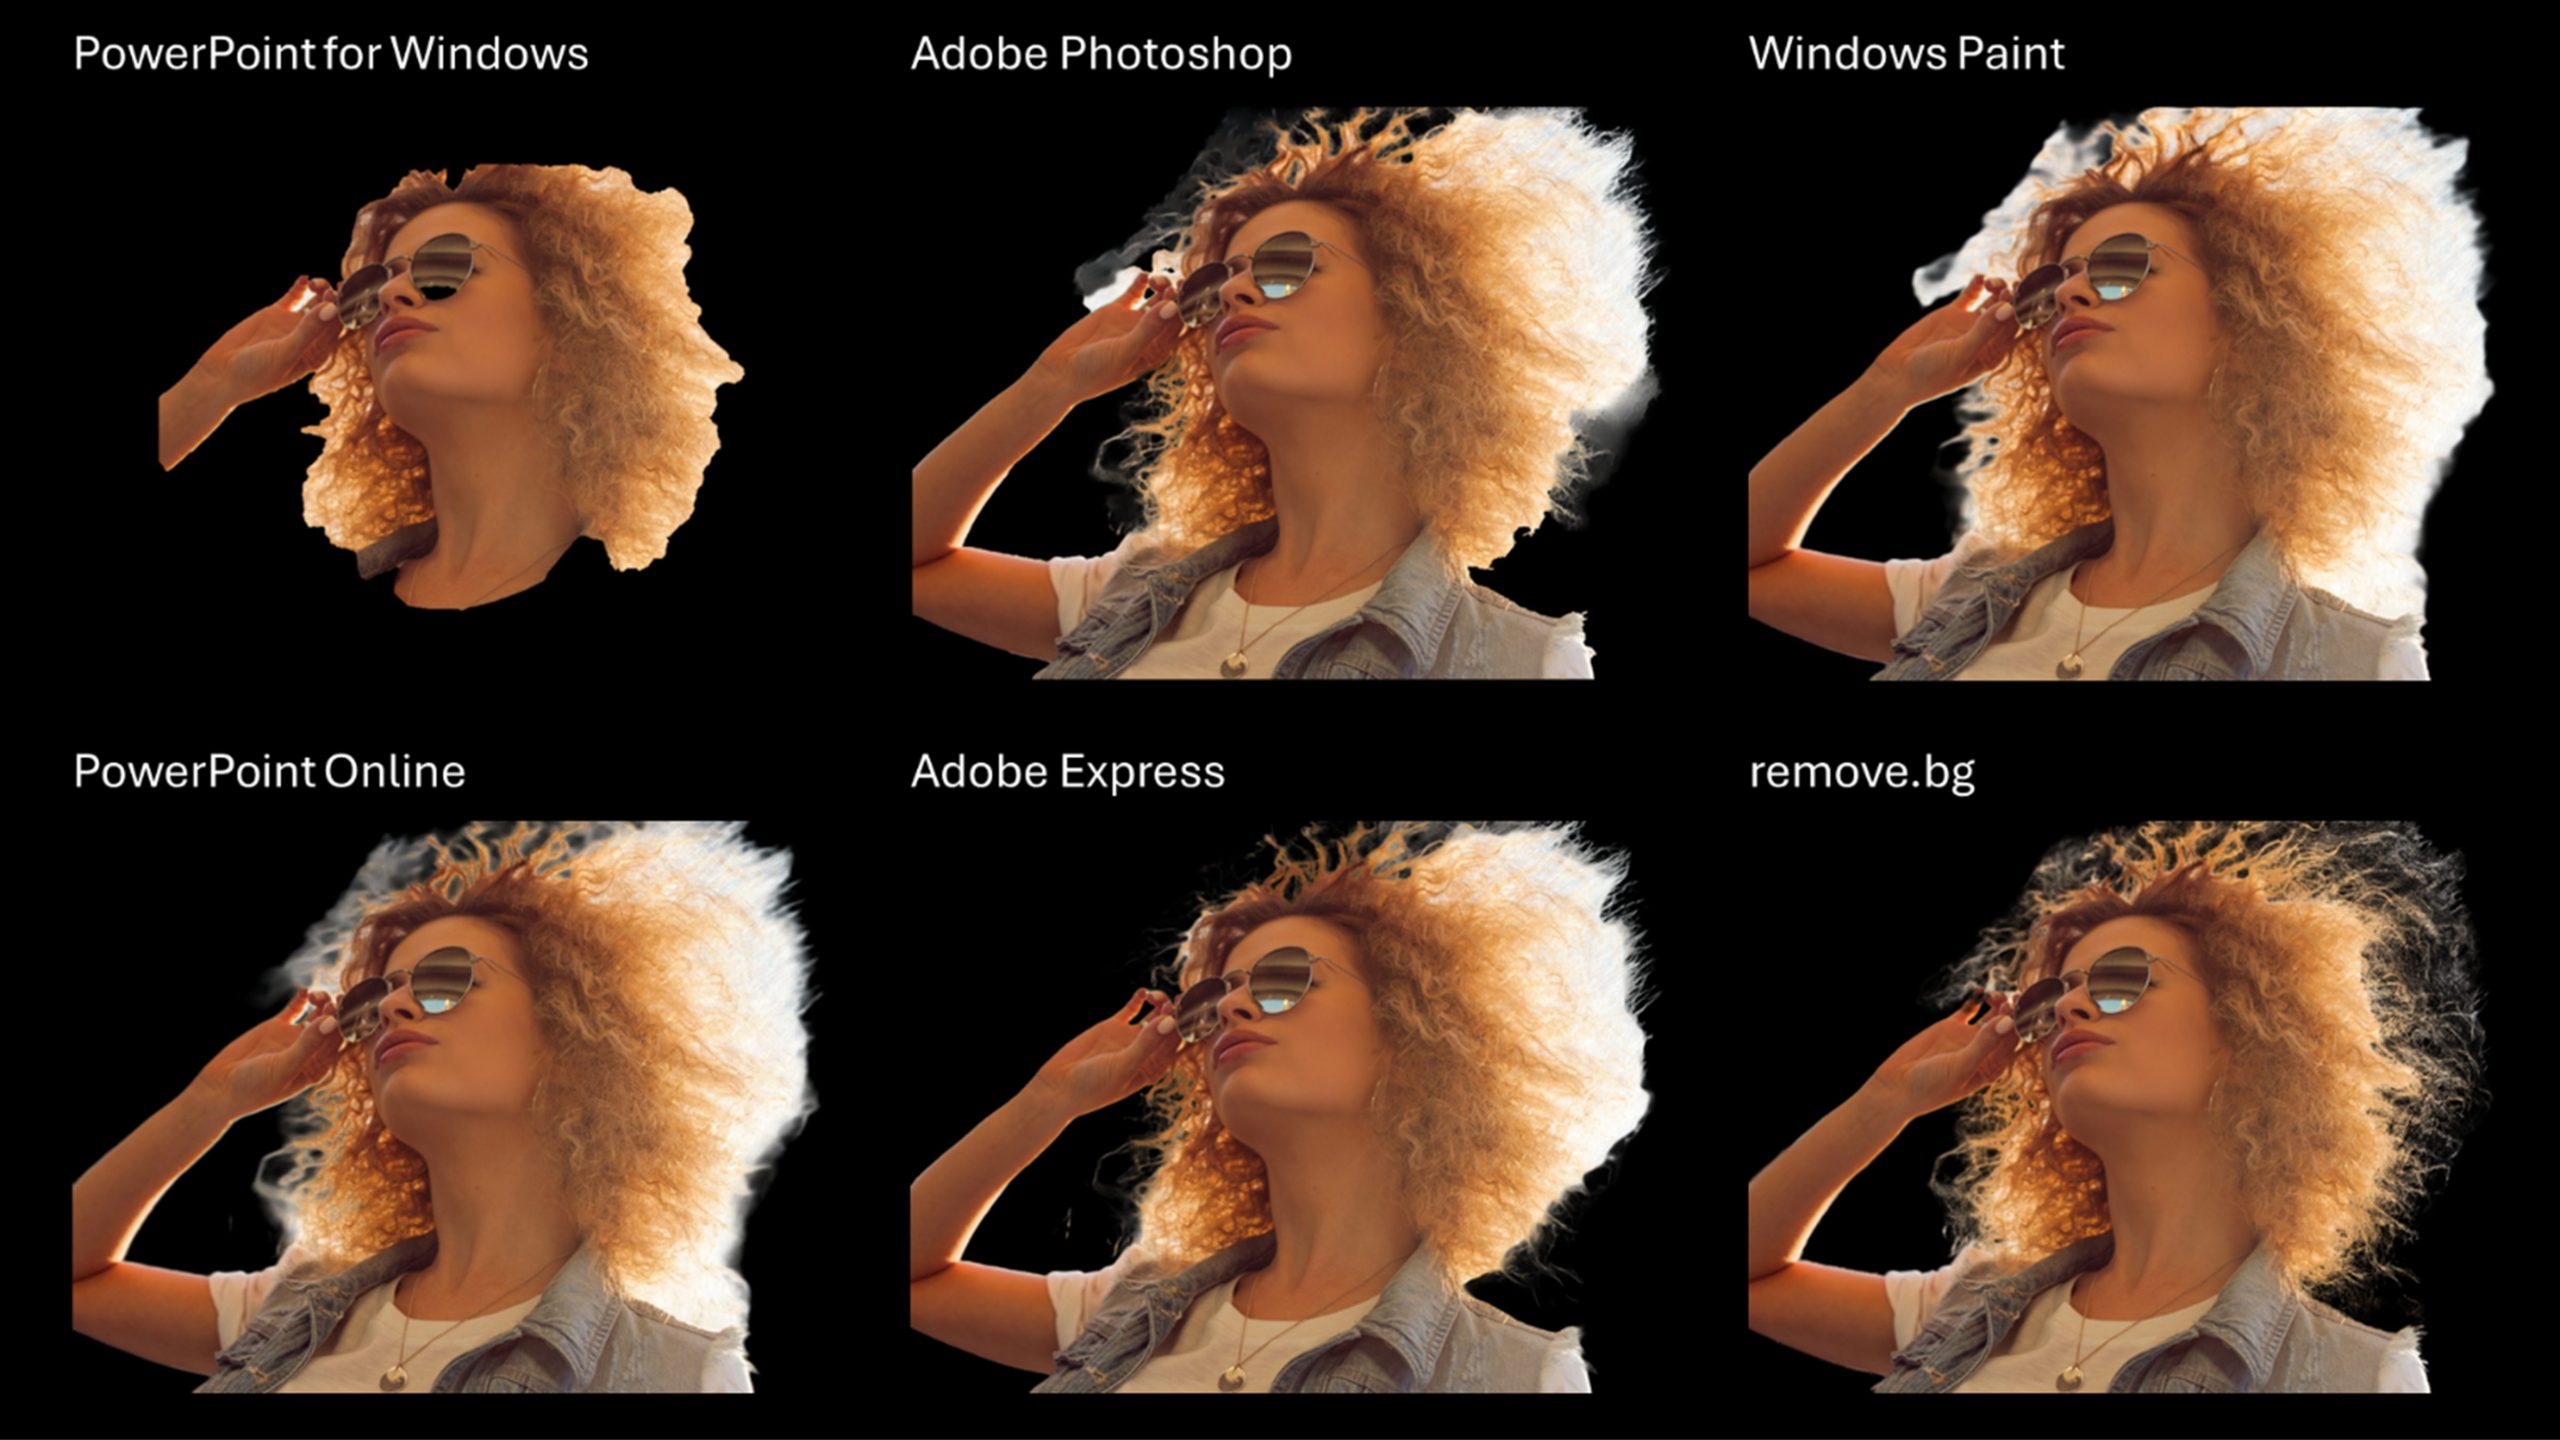
TLDR? Here’s a sneak peek at one of our comparisons:
Where to find good photography?
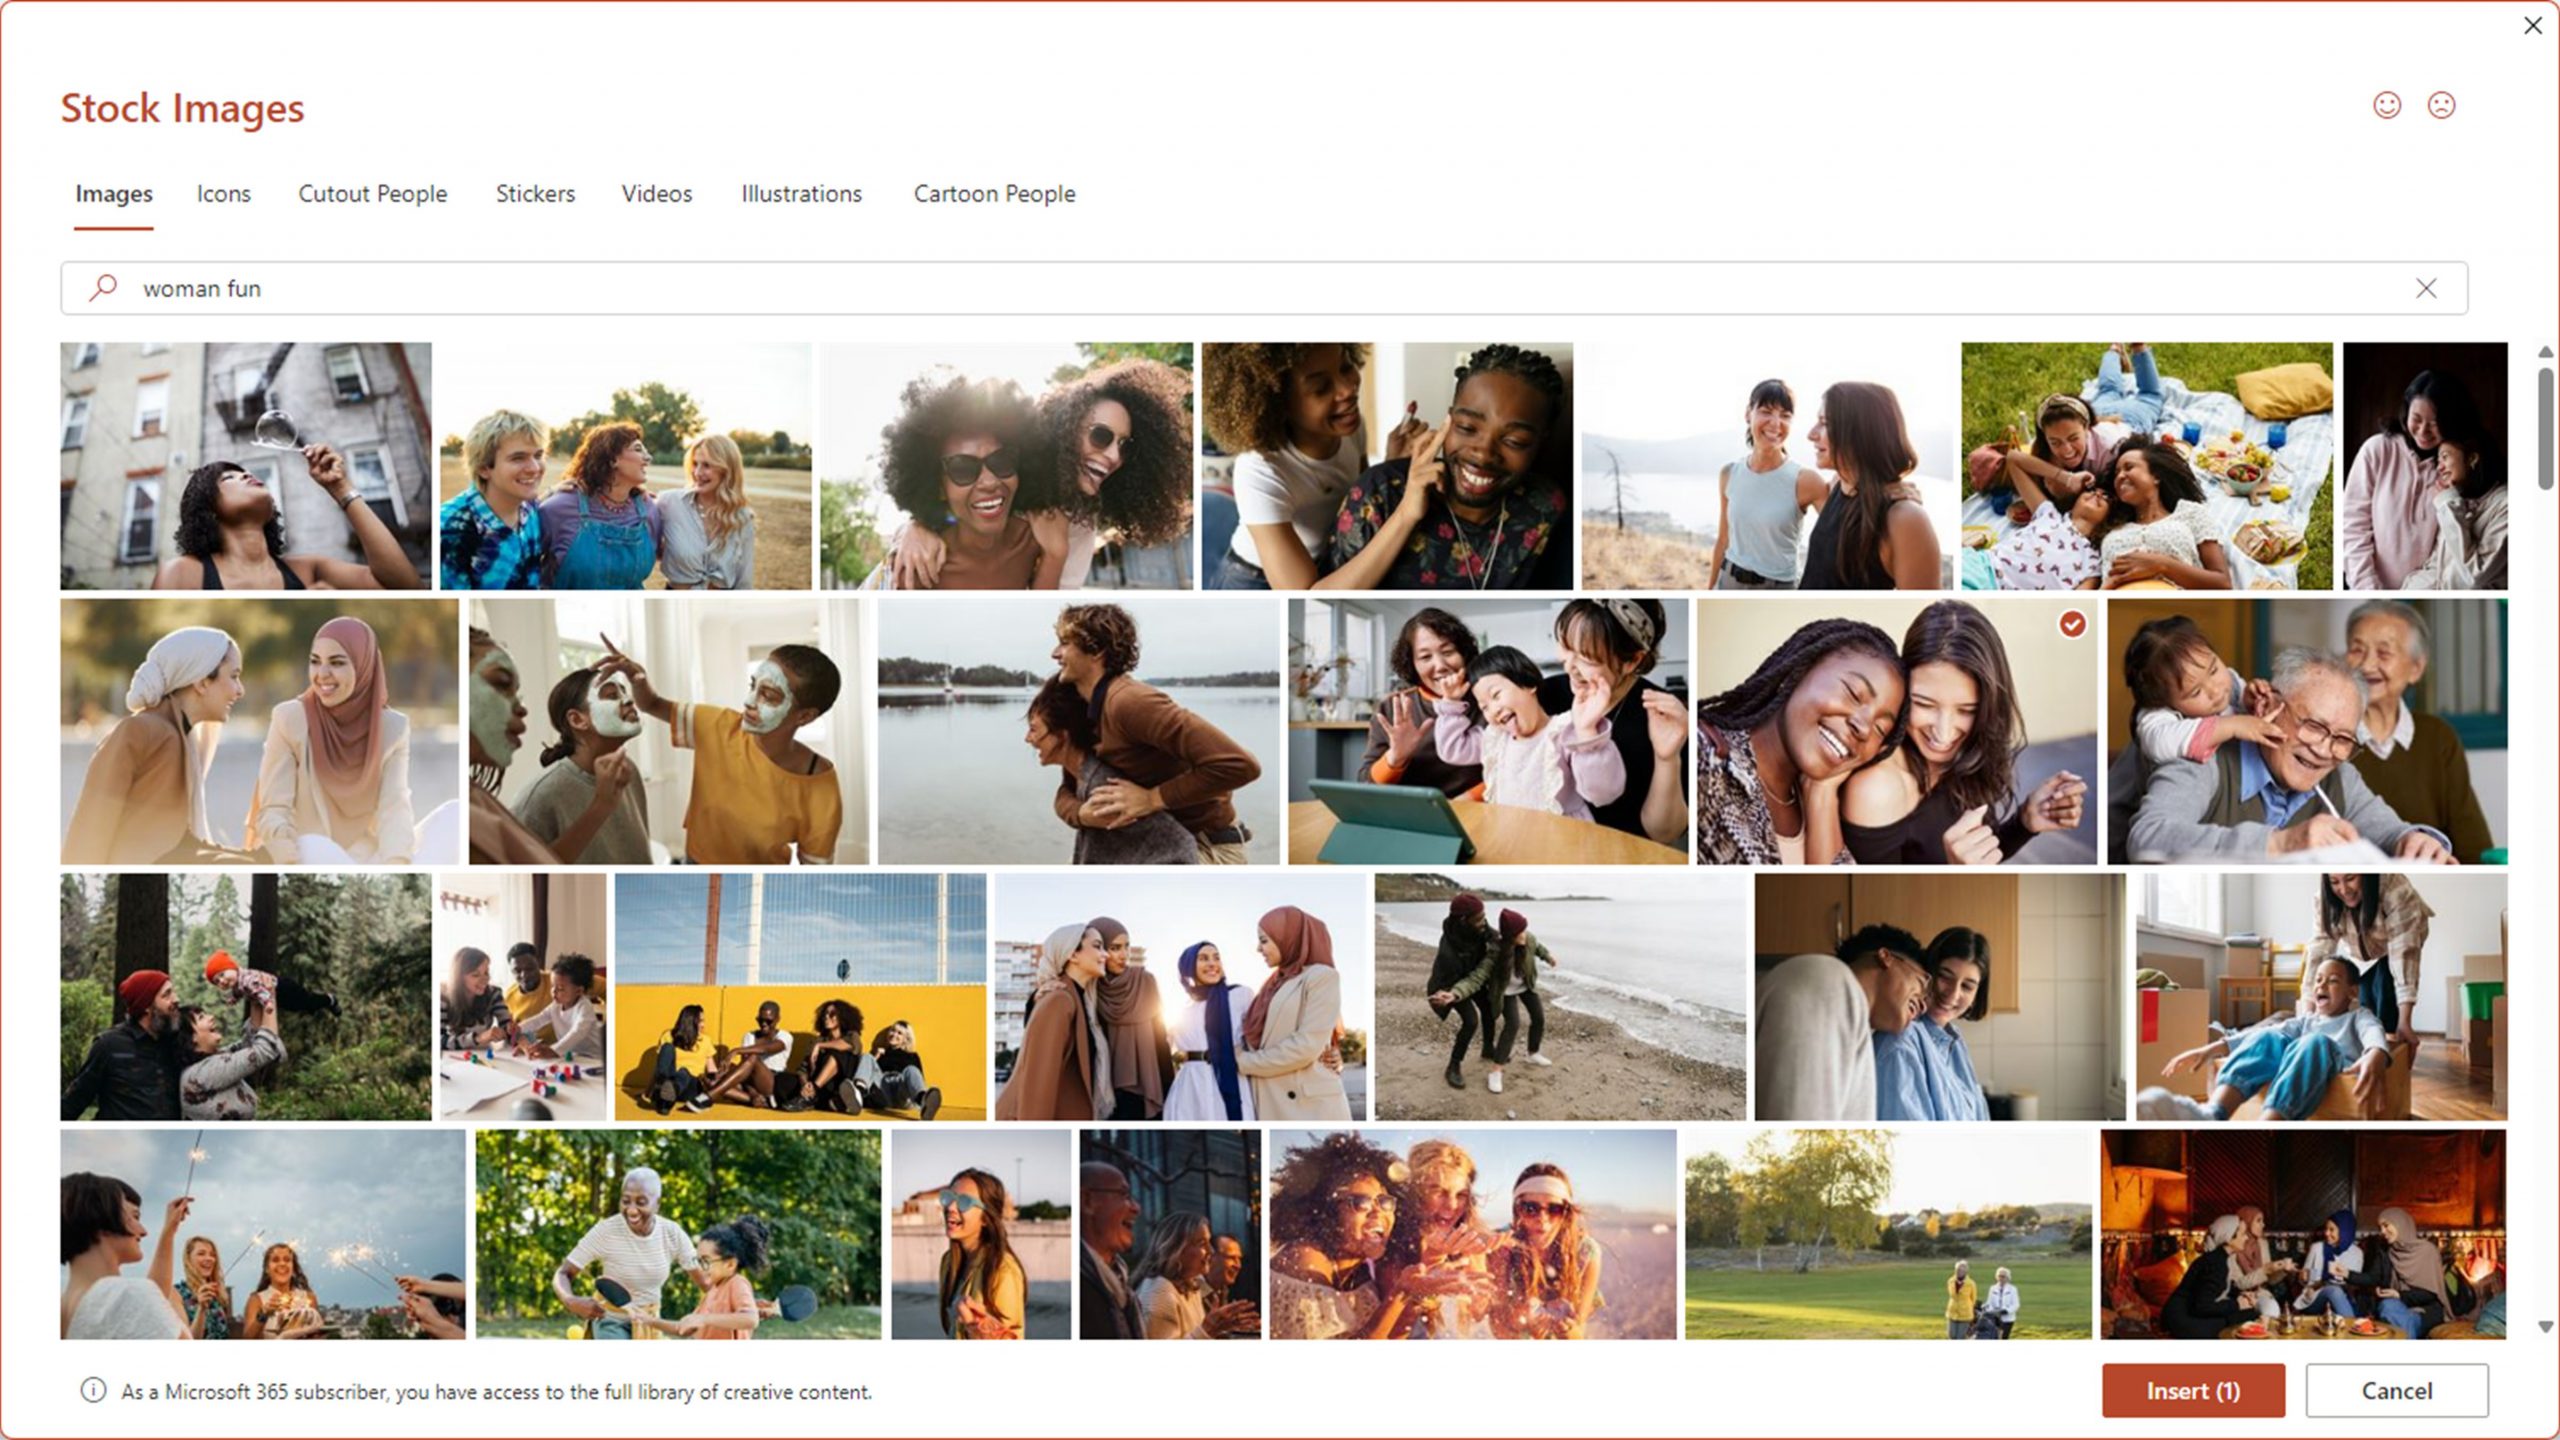
Photography can help you to tell a compelling story in your presentations and forge an emotional connection with your audience. Decent stock photography can be found on hundreds of online services including Getty, Shutterstock, Adobe Stock, Pexels and more. We’ve written a whole post on where to find incredible images for presentations and, if you have an M365 subscription, you can even get stock photography directly within PowerPoint, Word and Excel by clicking the Insert tab following by Pictures / Stock Images…
Once you’ve chosen an image you can just drop it on your slide and call it a day right?
Why remove backgrounds?
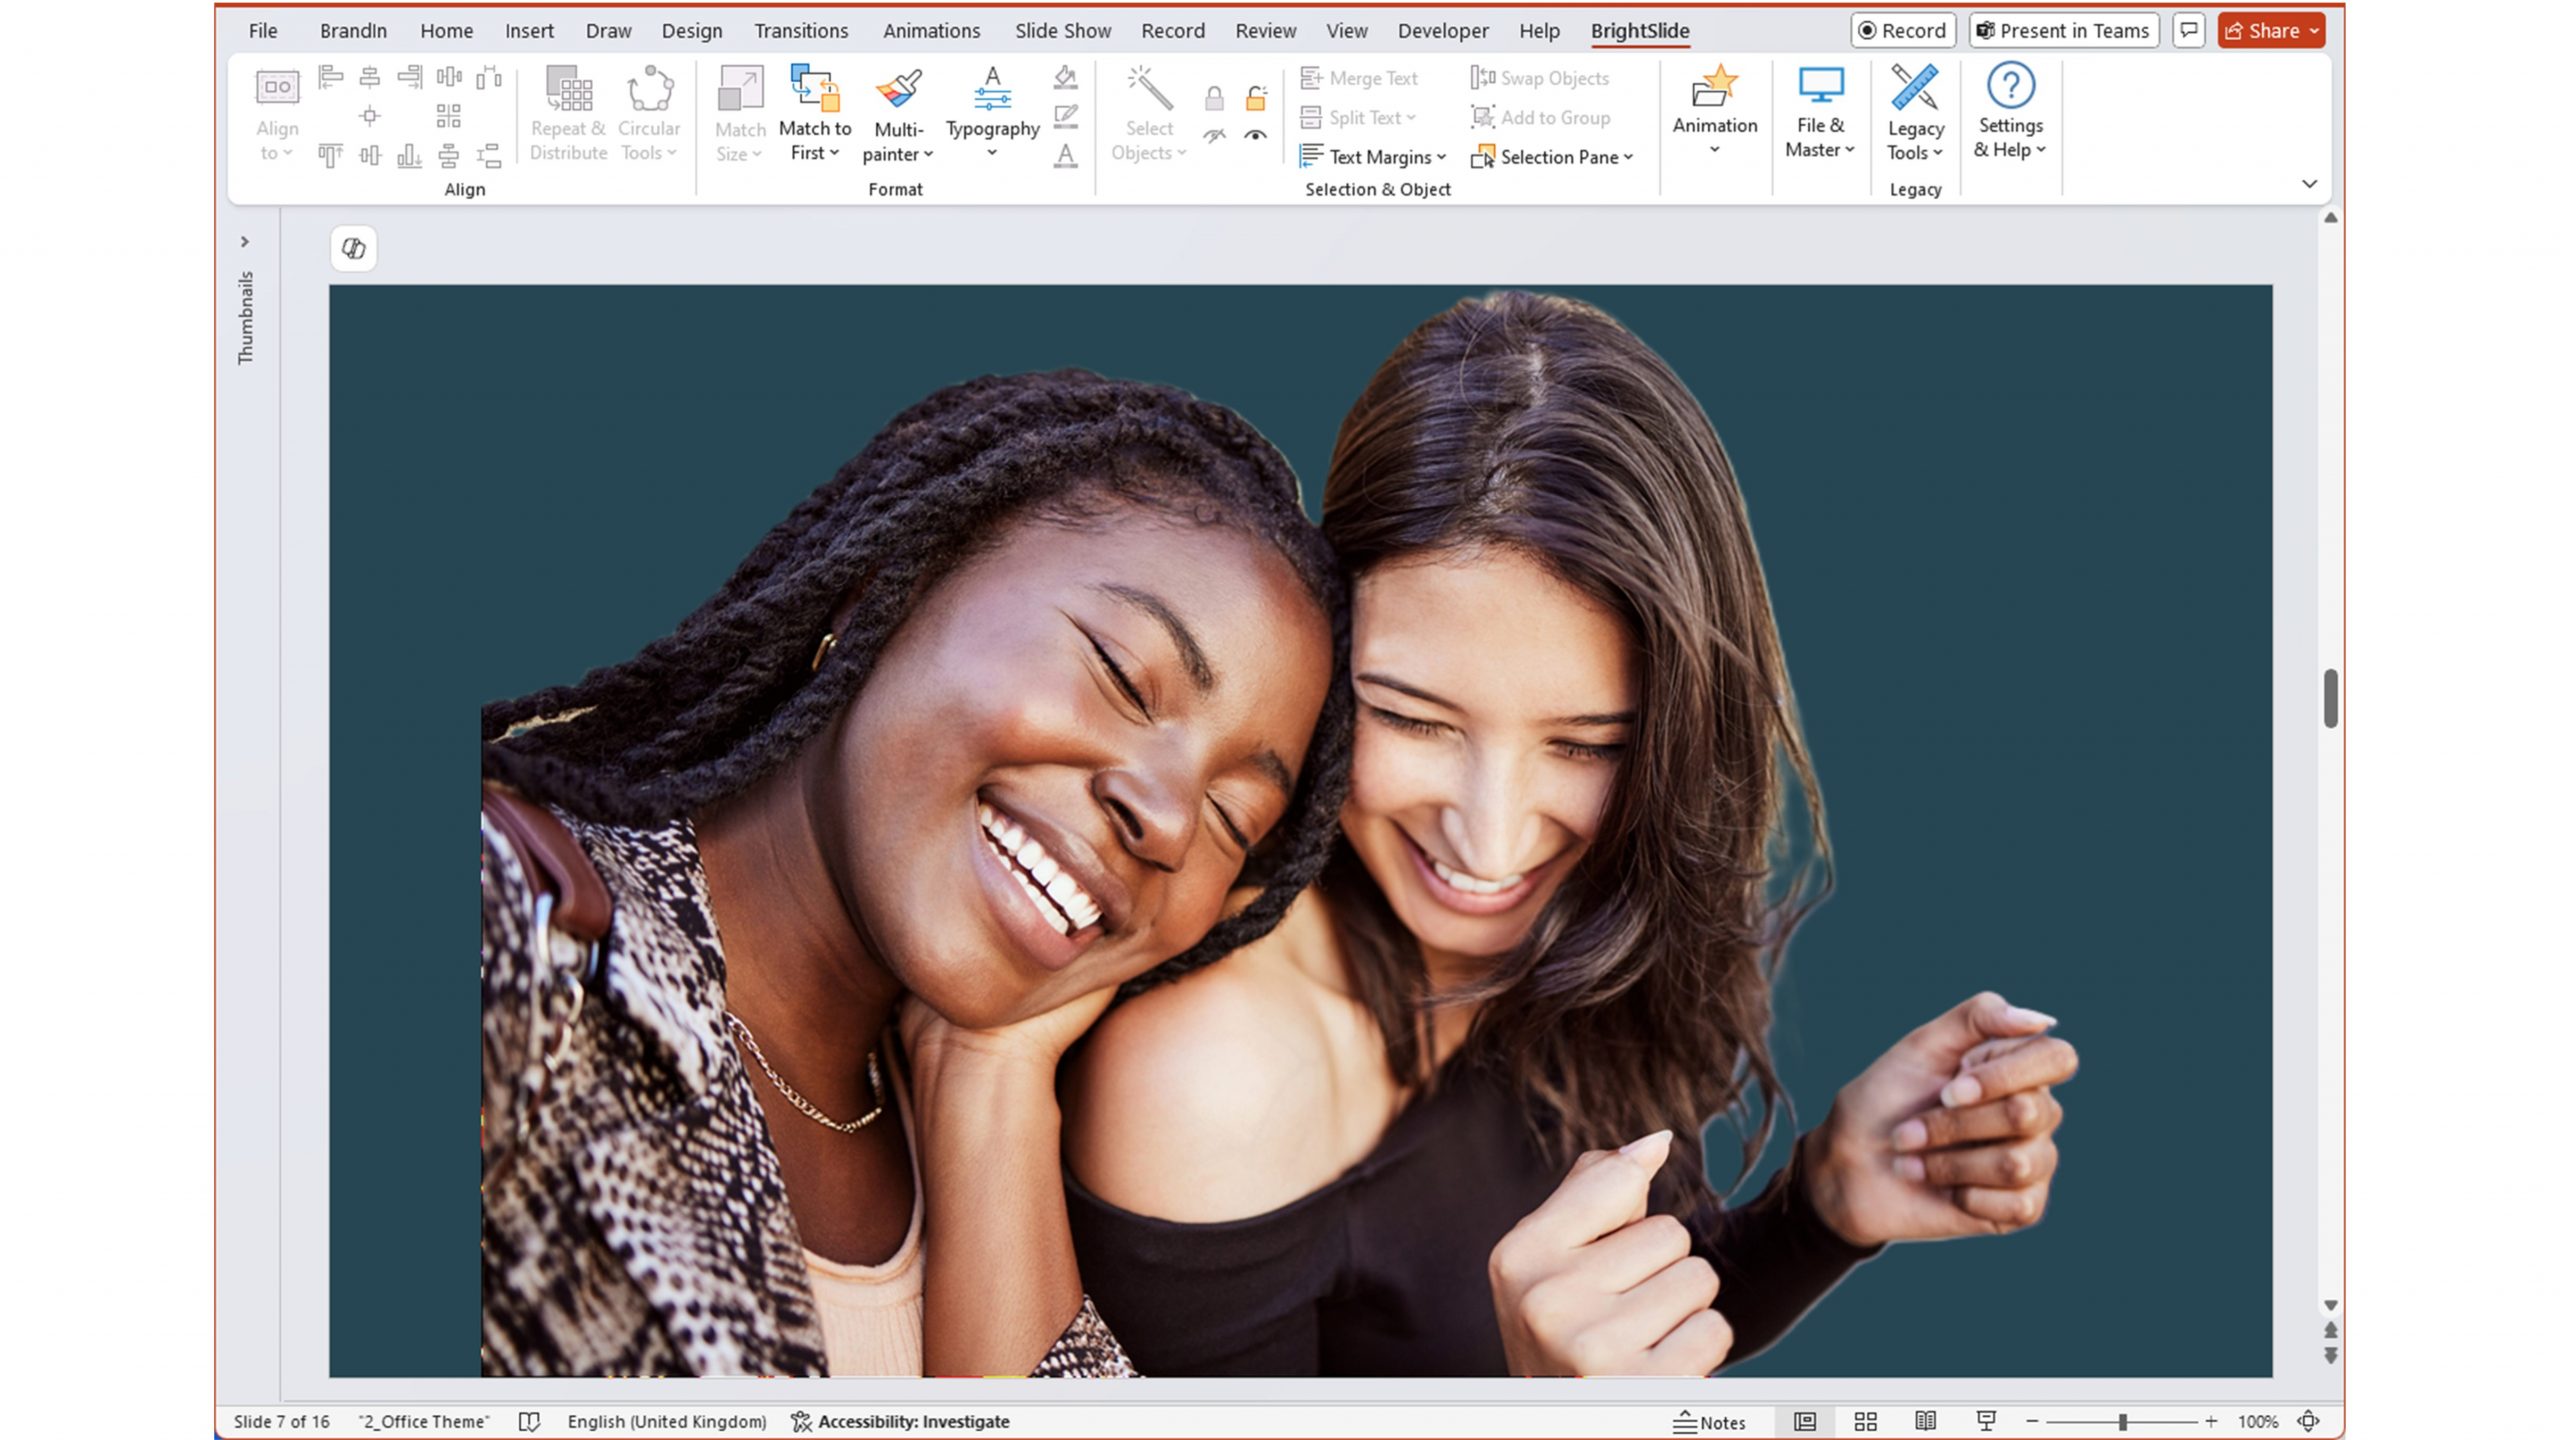
Well, let’s say you’ve selected one of the images available in the screenshot above and add it to your slide like this:
The photo looks like it’s just been dumped on the slide and isn’t really integrated with the rest of the design. By simply removing the background and positioning the image with intention, the look and feel of the slide is transformed:
And because you now have a photo with background transparency, you can use certain PowerPoint effects to easily change the look and feel of your design – like this white outline created with the Glow effect:
You can also use images with the background removed as masks, allowing you to create more interesting static slide and engaging animated slides that are several steps above bog-standard PowerPoint!
So, now you know why you might want to remove the background of an image, how do you actually do it in PowerPoint?
Technique 1 – Use the background removal tool in PowerPoint for Windows or macOS
Add an image to your slide and select it.
Click the Picture Format tab
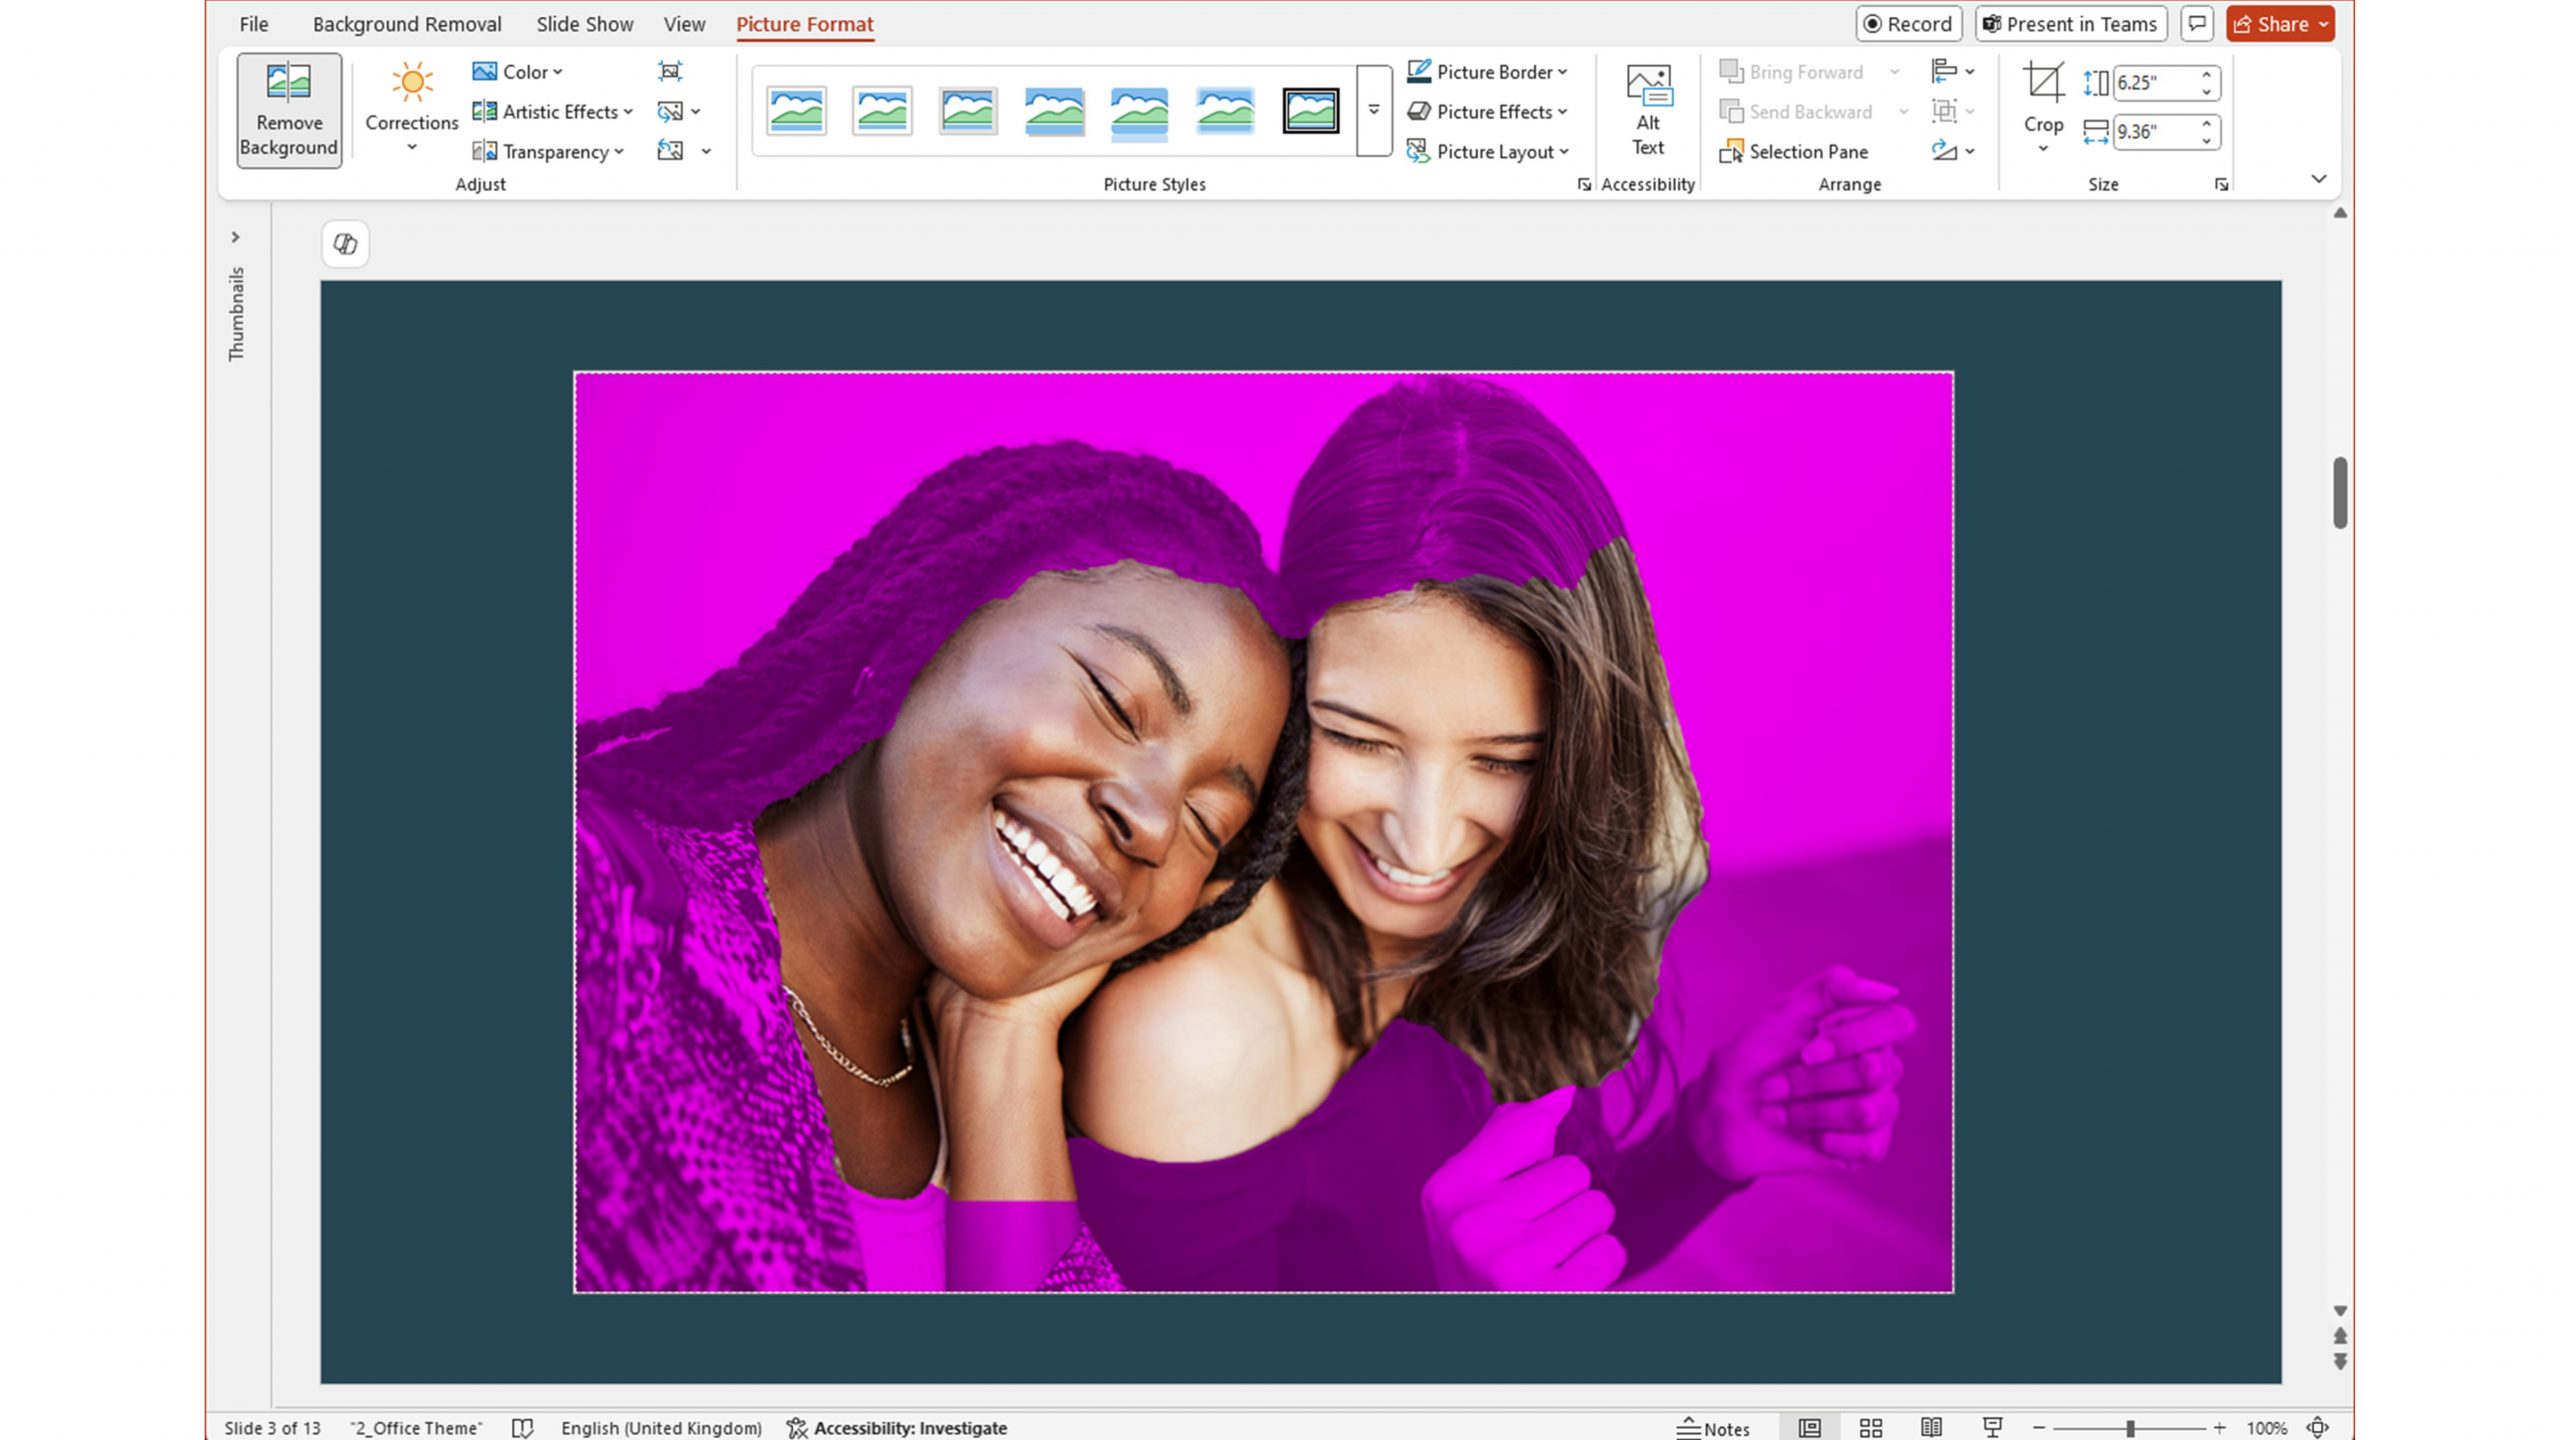
On the left hand side of the ribbon, click Remove Background.
PowerPoint will attempt to figure out what the subject is and what the background is, highlighting what it thinks needs removing in purple. As you can see, it’s not very good!
If you click into the Background Removal tab, there are tools that allow you to manually Mark Areas to Keep and Mark Areas to Remove so you can edit the selection a bit.
However, PowerPoint will automatically adjust as you go, and it isn’t always (or often) correct. As you can see in the screen recording below, it’s extremely frustrating to use.
And this is at 2x speed! If you’re persistent, you can get some reasonably good results and maybe apply a soft edge to the image (Picture tab> Picture Effects> Soft Edges) to make it less jagged. The nice thing about this tool is that it’s not destructive and you can come back to the image at any time and restore it to its original using the Discard All Changes button.
Technique 2 – Use PowerPoint Online, with AI!
In early 2024, Microsoft added an artificial-intelligence-powered tool to PowerPoint Online and it’s really rather good. They adopted a single-click approach so if you don’t like the result, you can’t tweak it as you can on the desktop versions of PowerPoint.
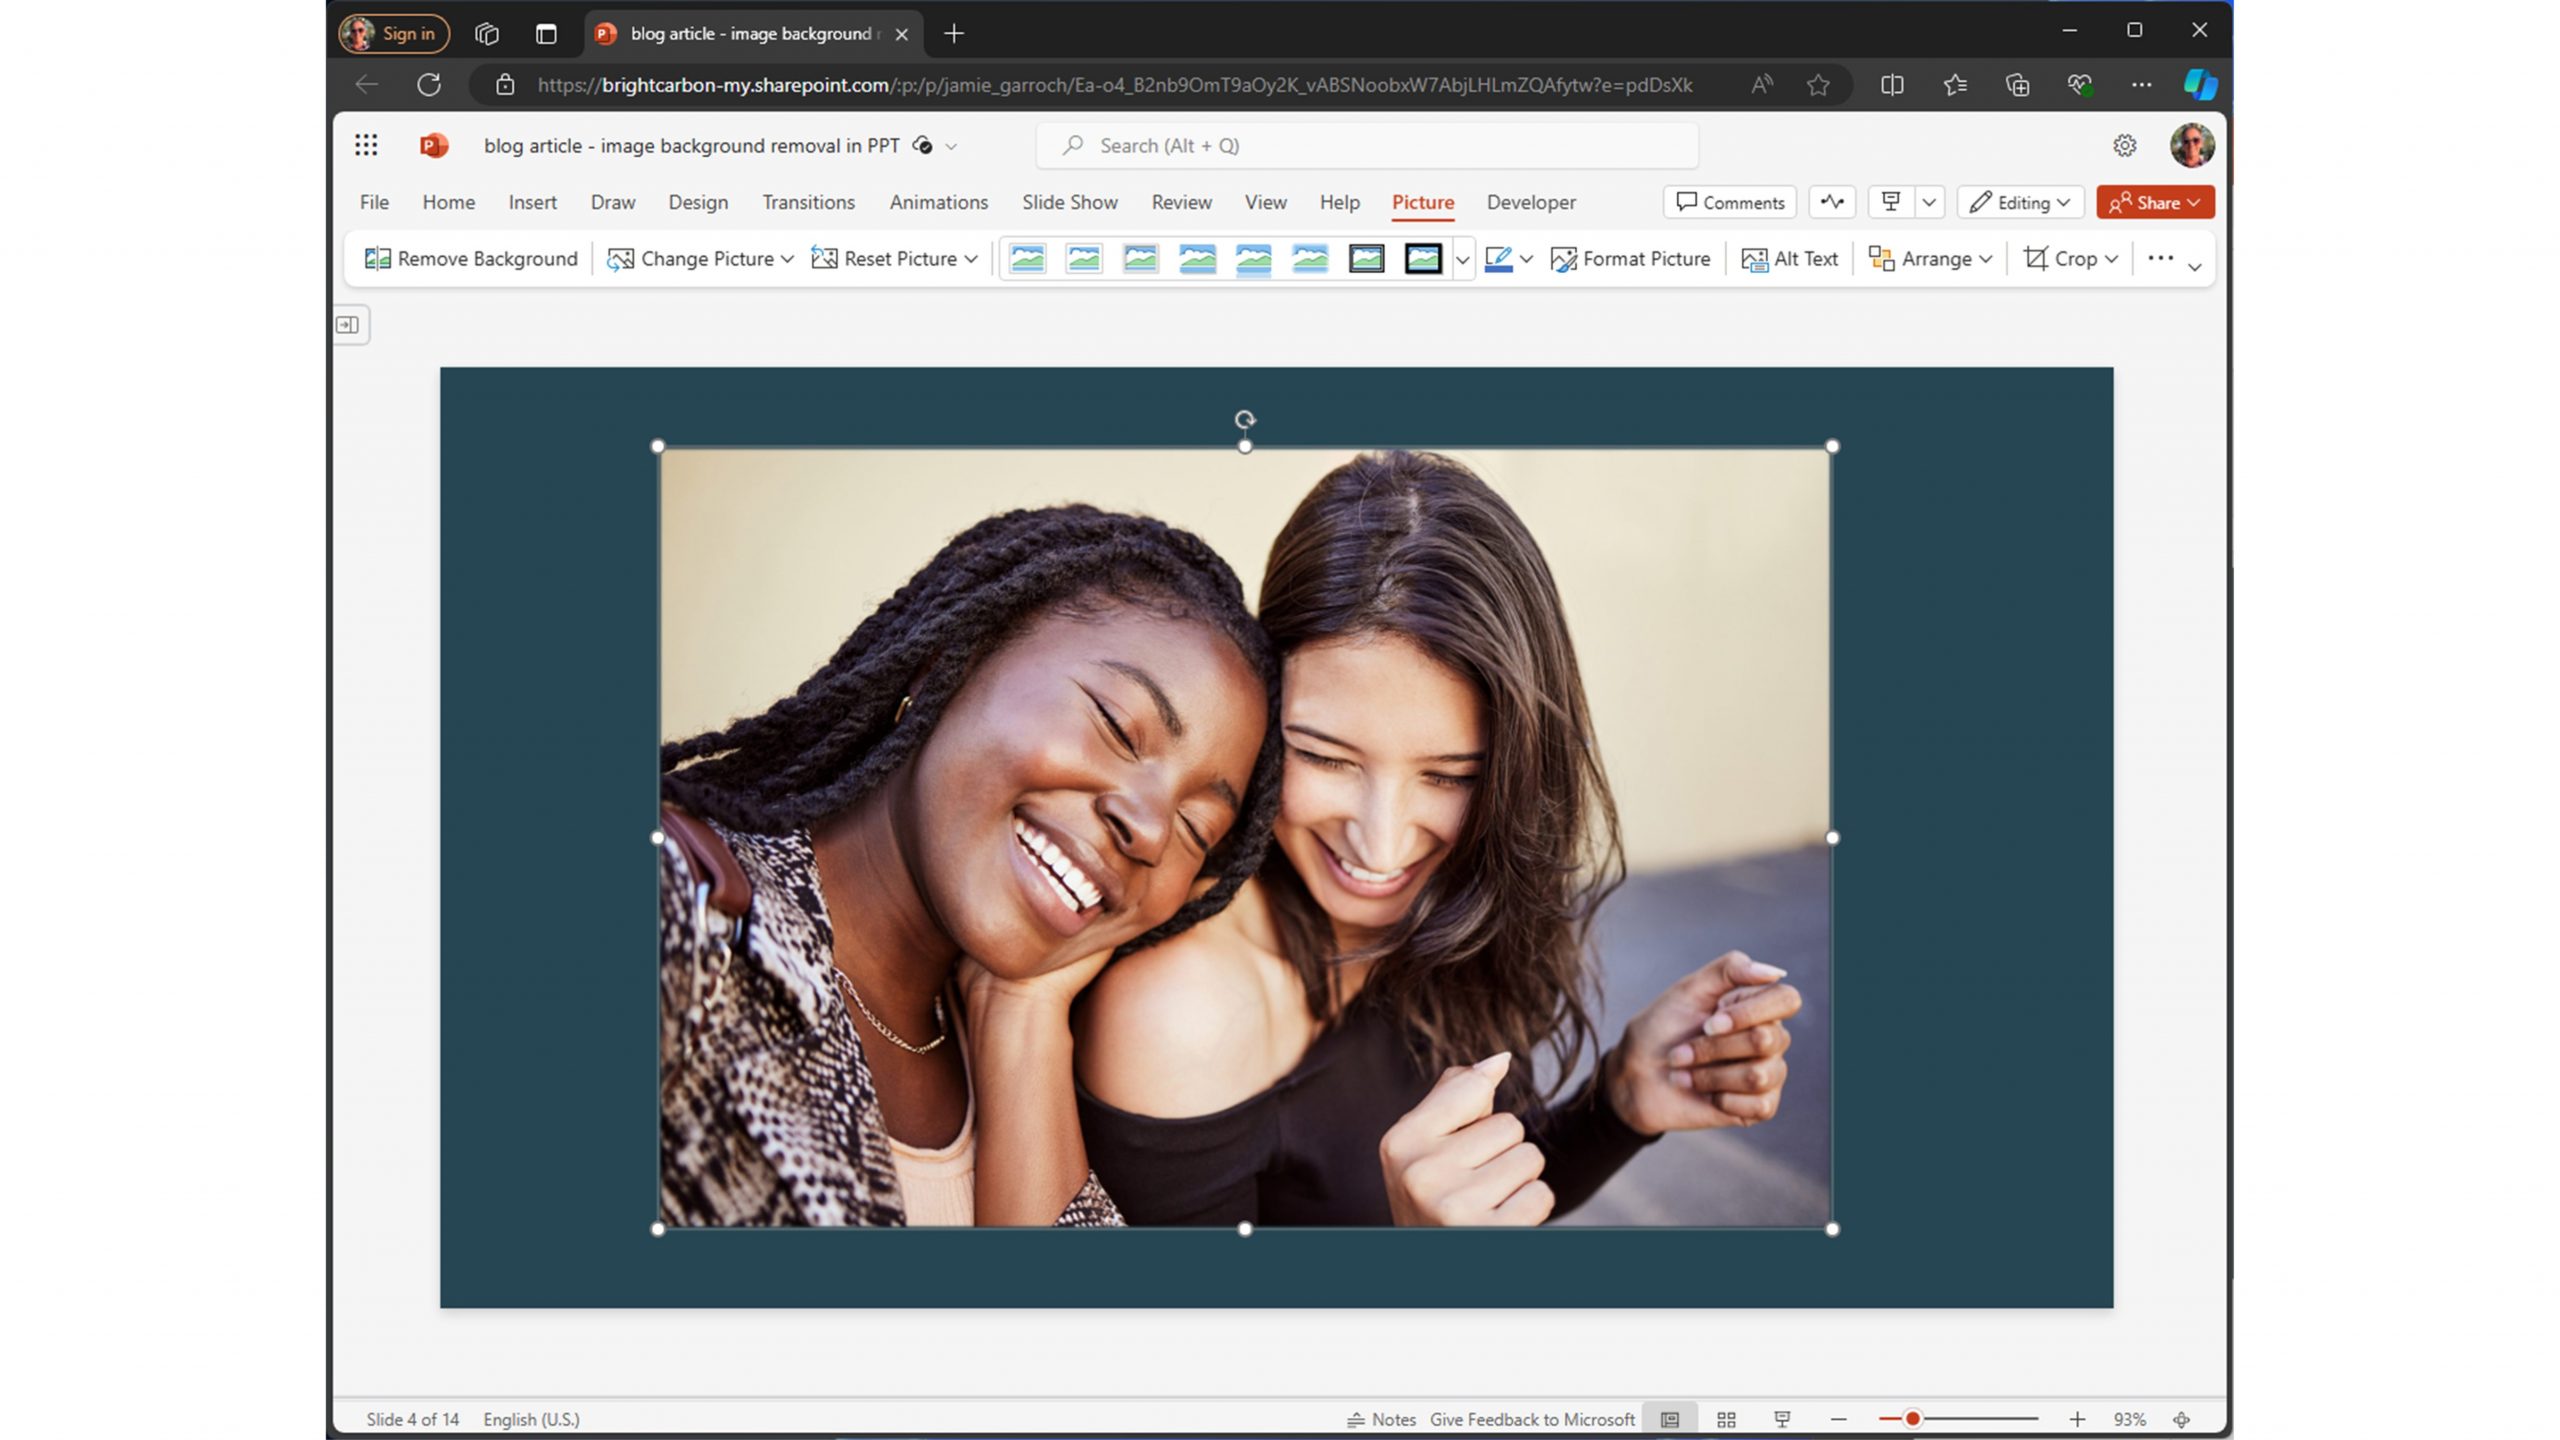
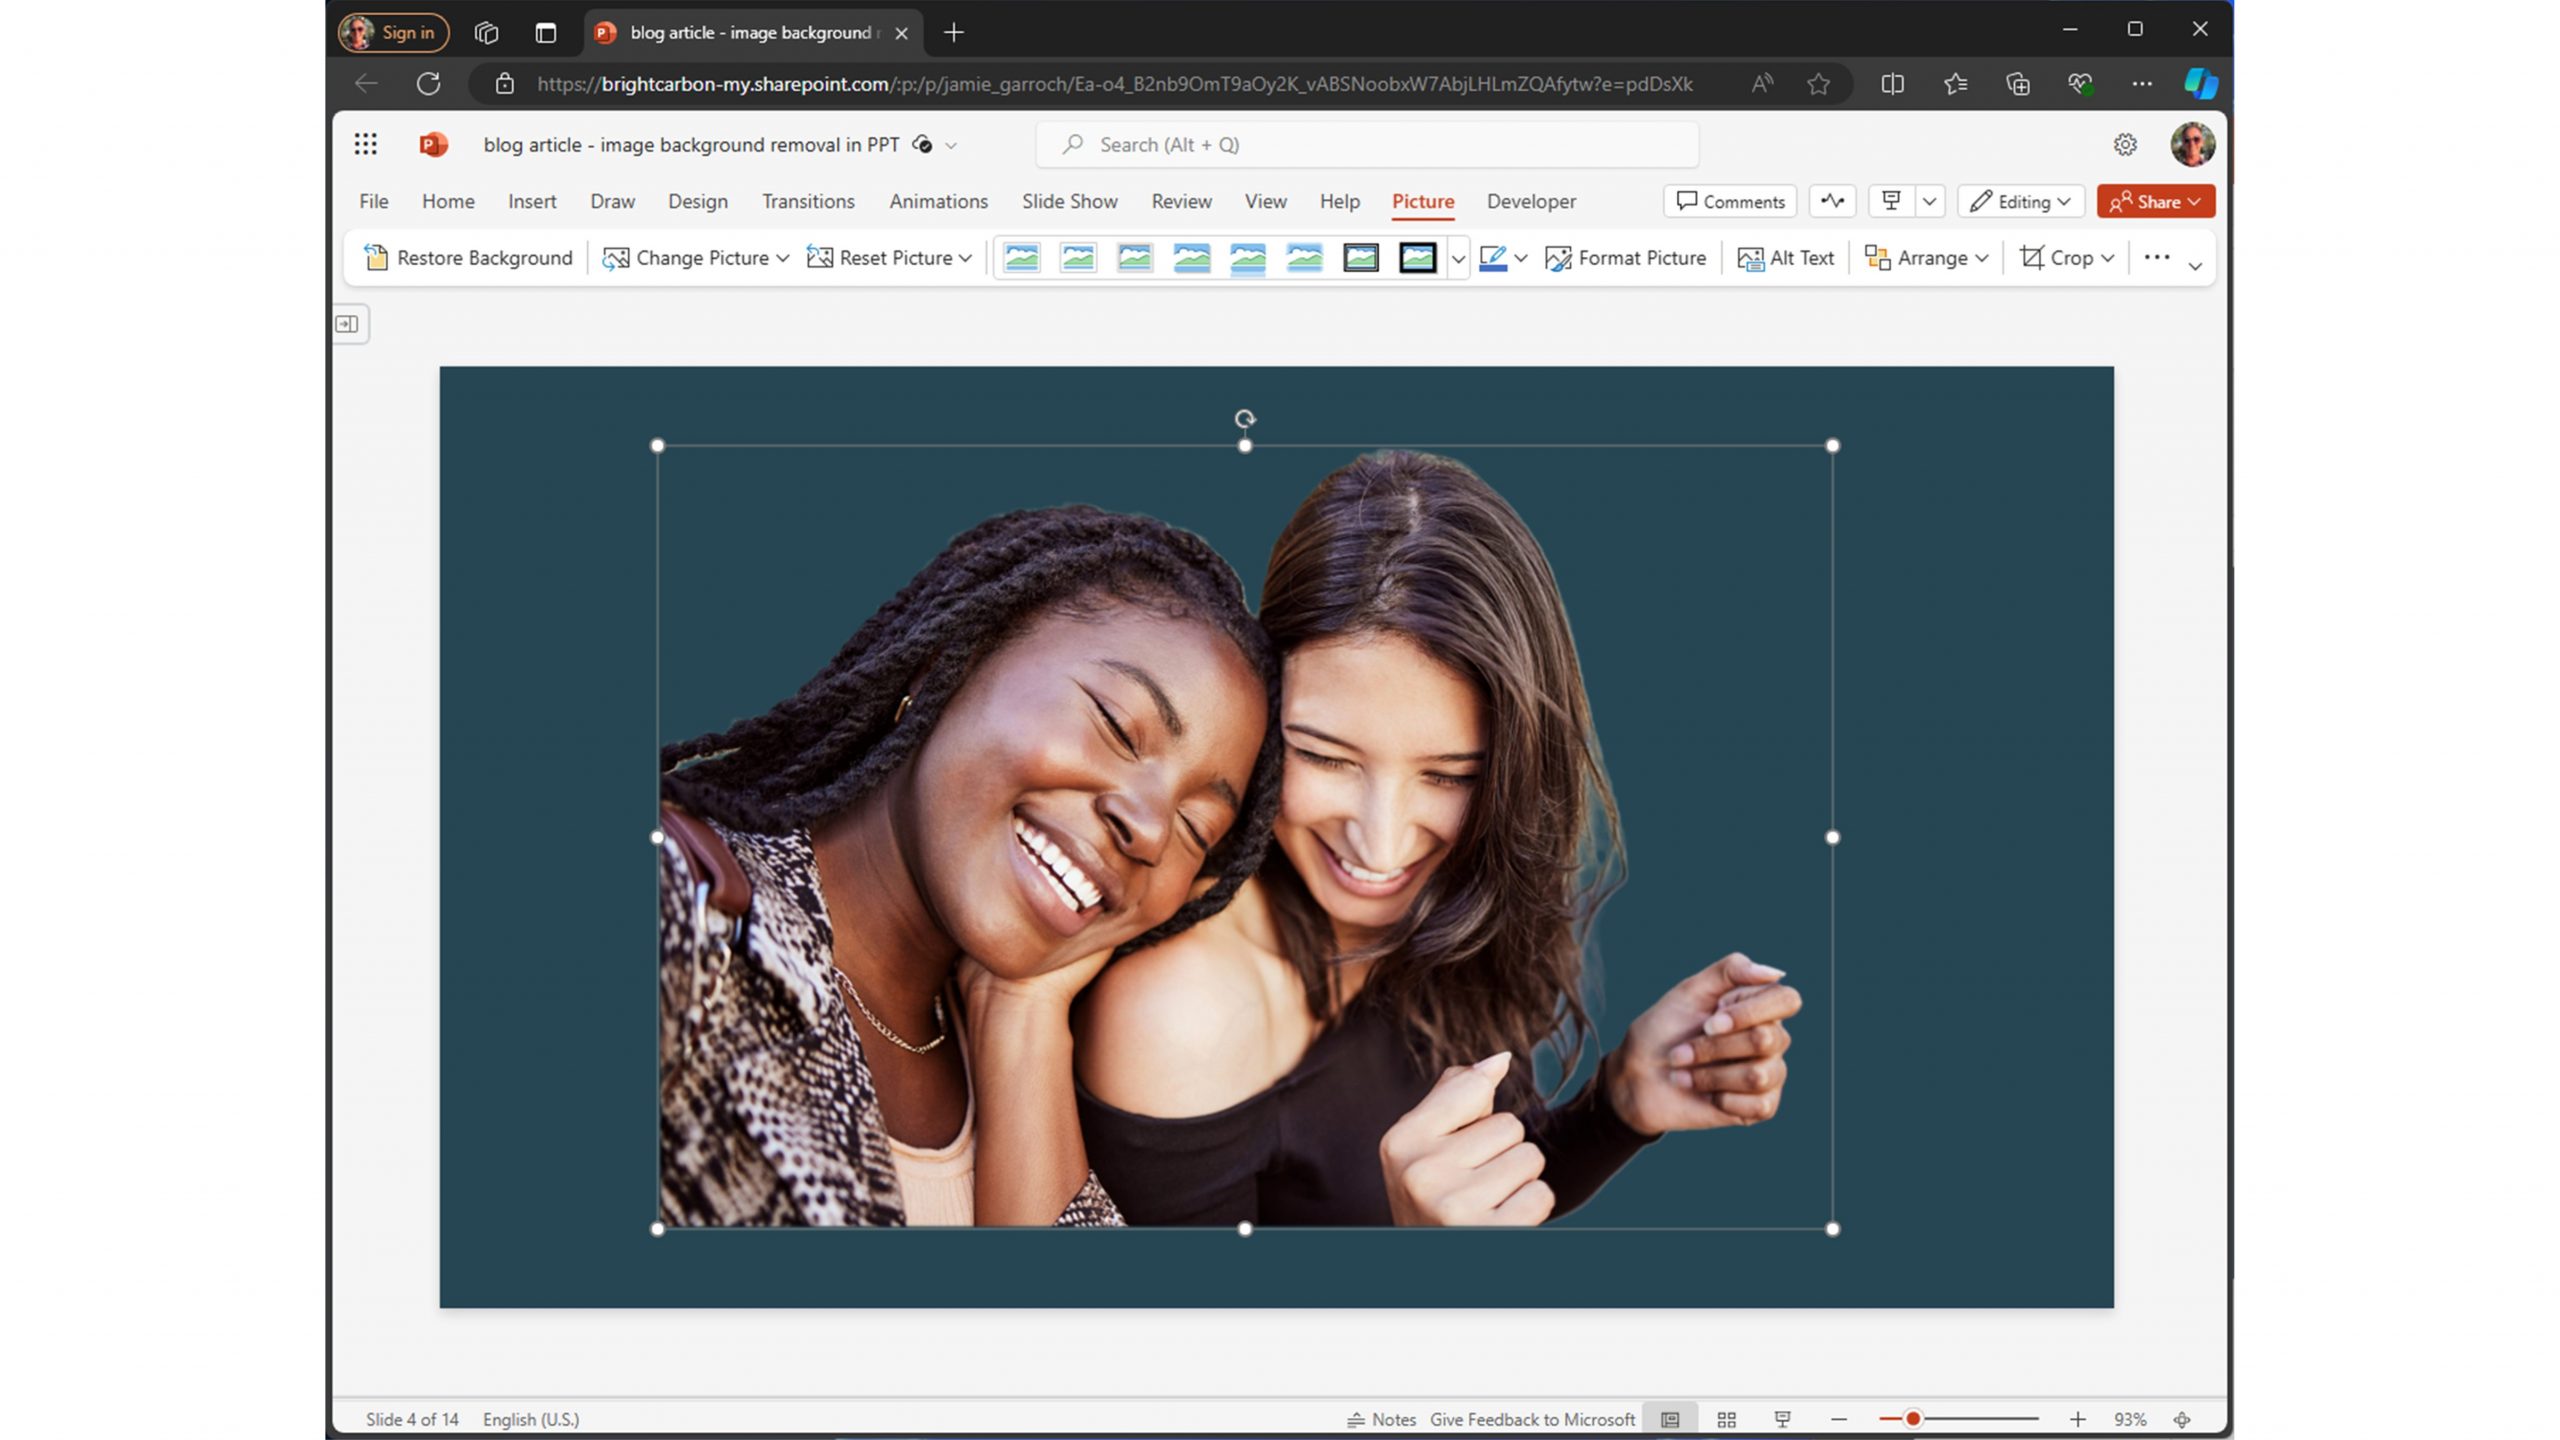
Here’s the same slide in PowerPoint Online (aka PowerPoint for the web):
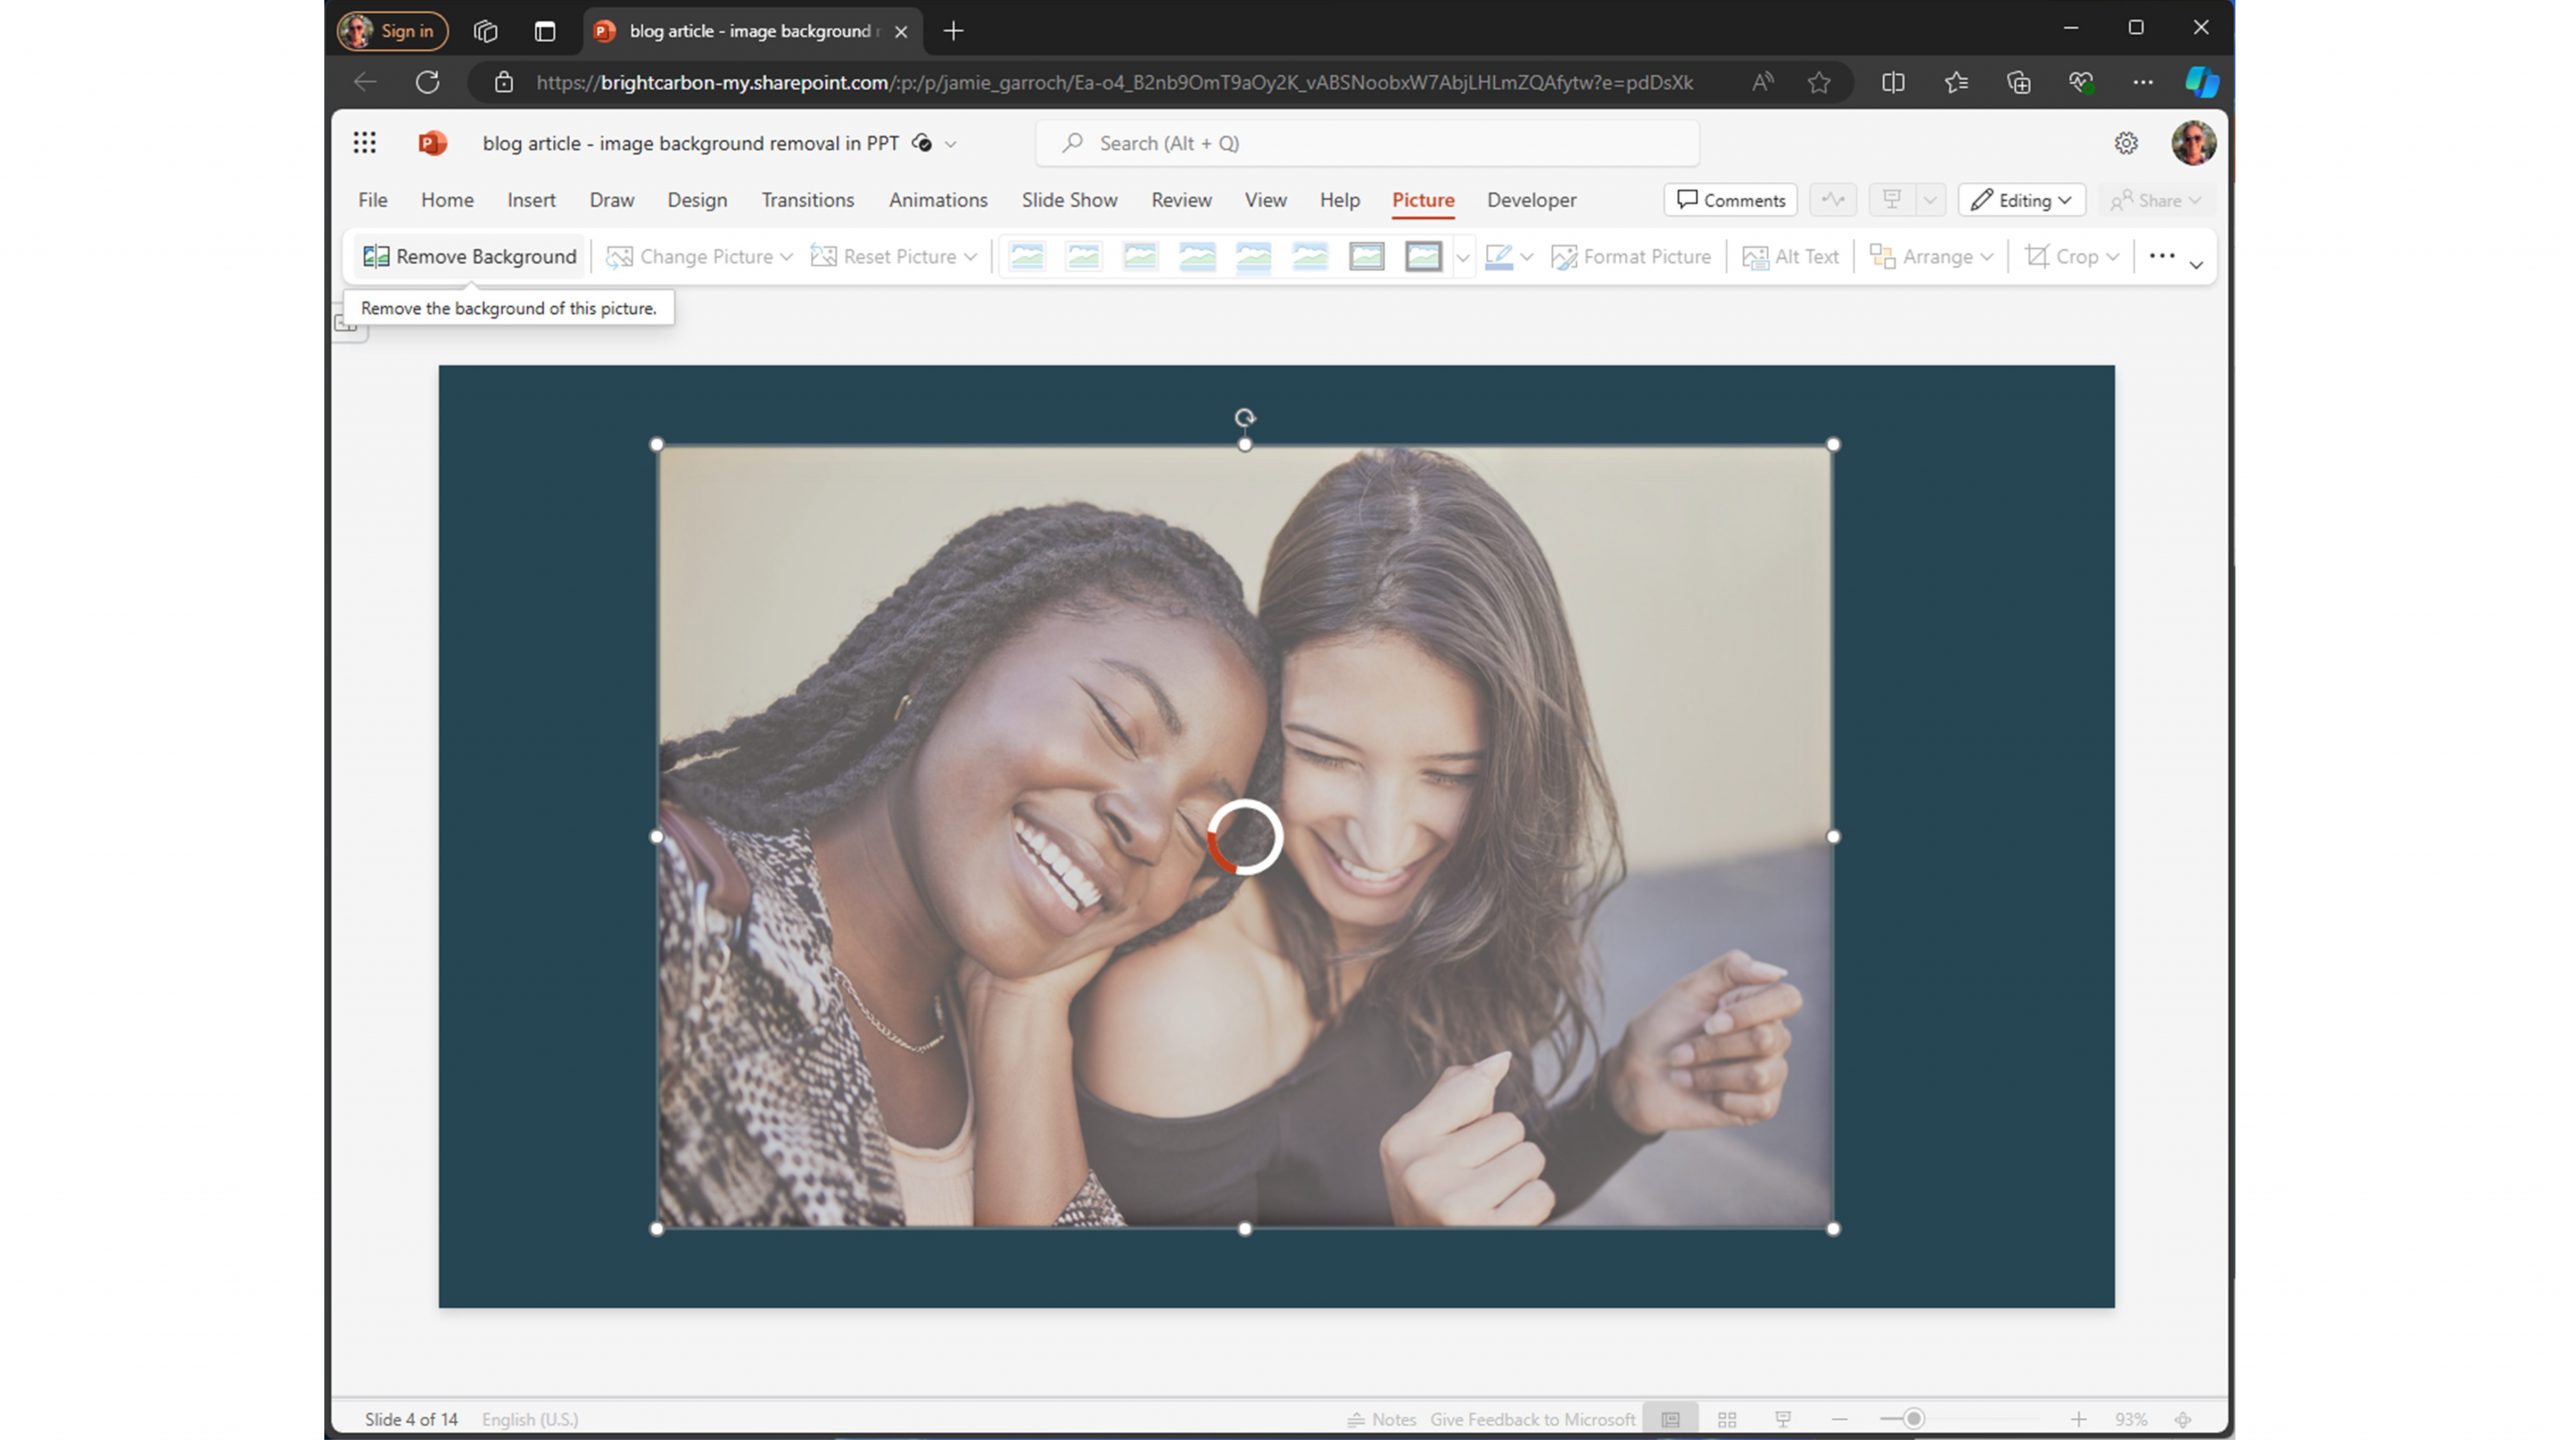
In the Picture tab, there’s Remove Background button on the left-hand side. Clicking that button just once will send the image off to Microsoft’s Online Service where a much smarter AI algorithm is used to detect the subject and background, before returning the image with the background removed. It takes a few seconds so be patient while you enjoy the spinning wheel!
Not bad for one click right?
The flaws we can see in this image are the thin white outline left around most of the hair and some of the body. Much better than the PowerPoint for Windows offering, but there’s still room for improvement. Again, as with the desktop multi-click tool, you can undo your changes by clicking the Restore Background button, even if you come back to it later. But you can’t tweak the result.
Technique 3 – Use the remove.bg add-in for PowerPoint on Windows
If you don’t like switching back and forth between PowerPoint Online and PowerPoint for Windows to edit your images, you can download our free add-in for the remove.bg service. Remove.bg is an AI powered background removal tool that generates excellent results and our plugin brings that magic directly to your PowerPoint files. Note that the AI-powered service requires credits if you need decent-resolution images but it’s fairly inexpensive.
Once installed, you just need to set up a remove.bg account and copy & paste your API key into the add-in. You’ll now have three ways to use the remove.bg service in PowerPoint:
From the Home tab.
From the Picture Format tab.
From the right-click menu when a picture is selected
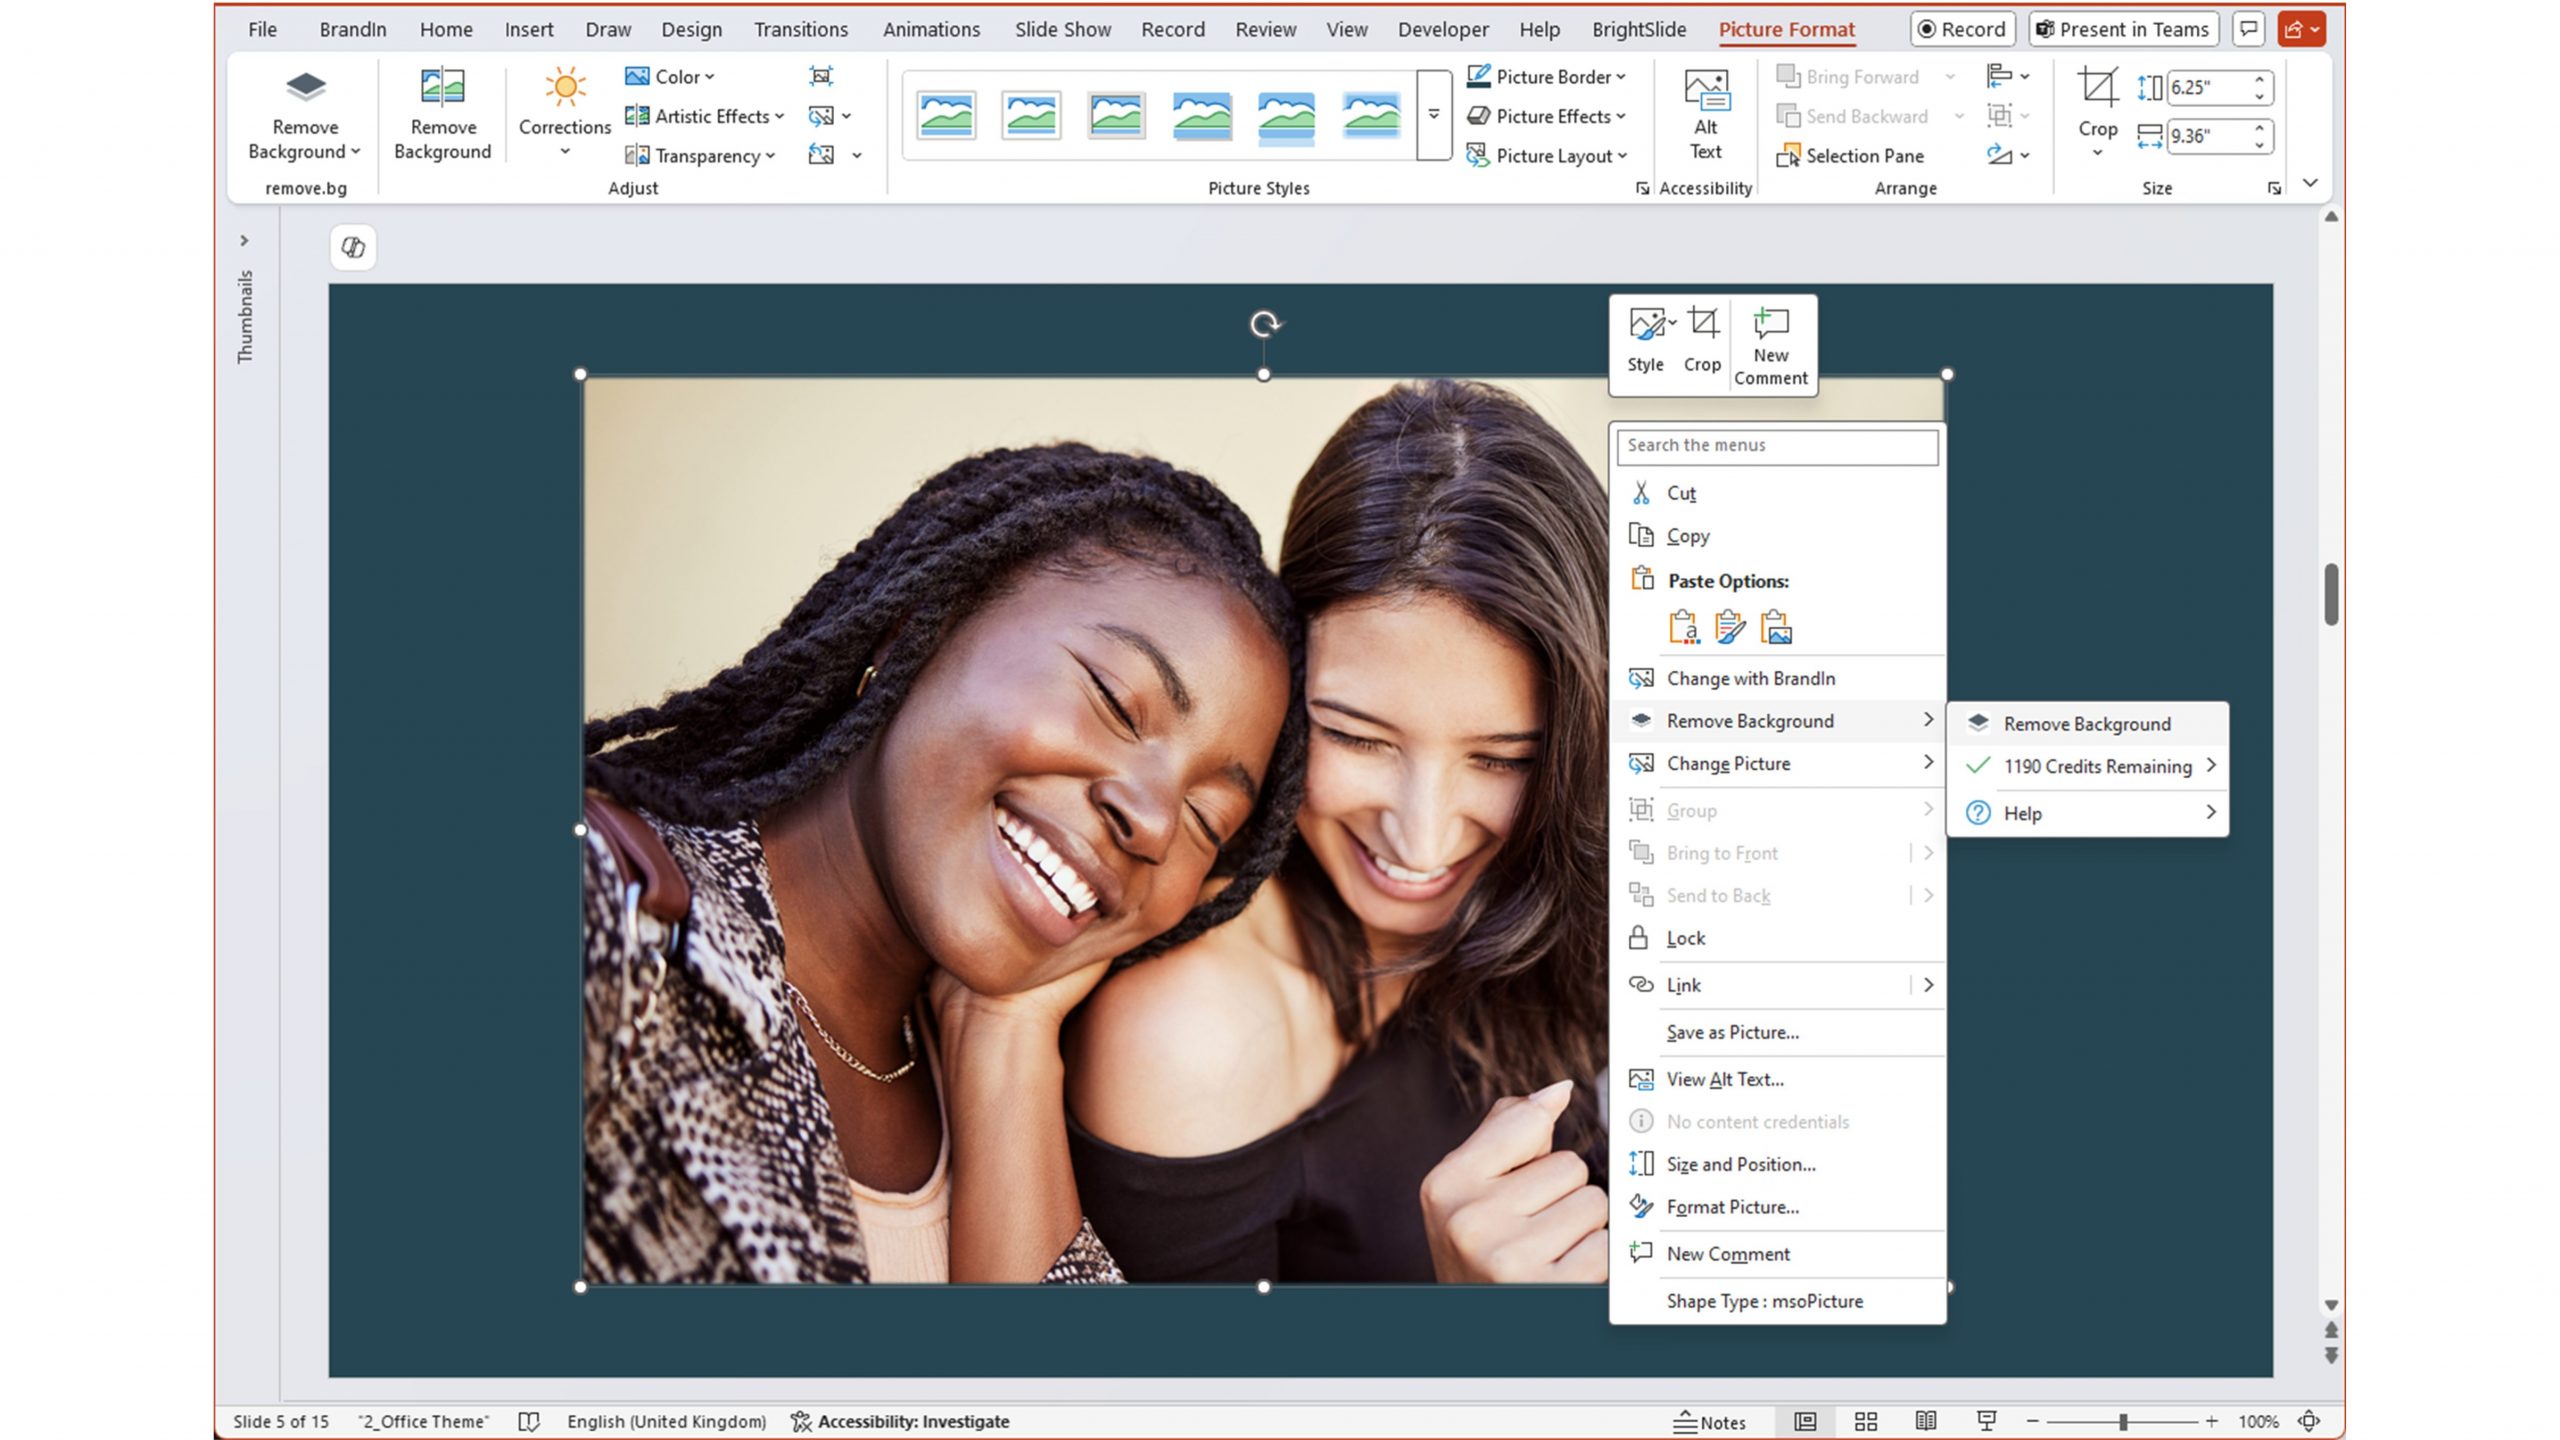
Let’s take that same image of our two friends and right-click it to access the AI tool:
Click Remove Background and then you’ll see a progress indicator for a few seconds:
After a couple of seconds your original picture is replaced with the one our add-in grabs from the remove.bg service:
Like PowerPoint Online, this is a one-click feature, with no ability to tweak the result. However, the results are very, very good. Compare the hair of both girls, on the left and right-hand sides of the image. Is it better or worse than PowerPoint Online? You decide!
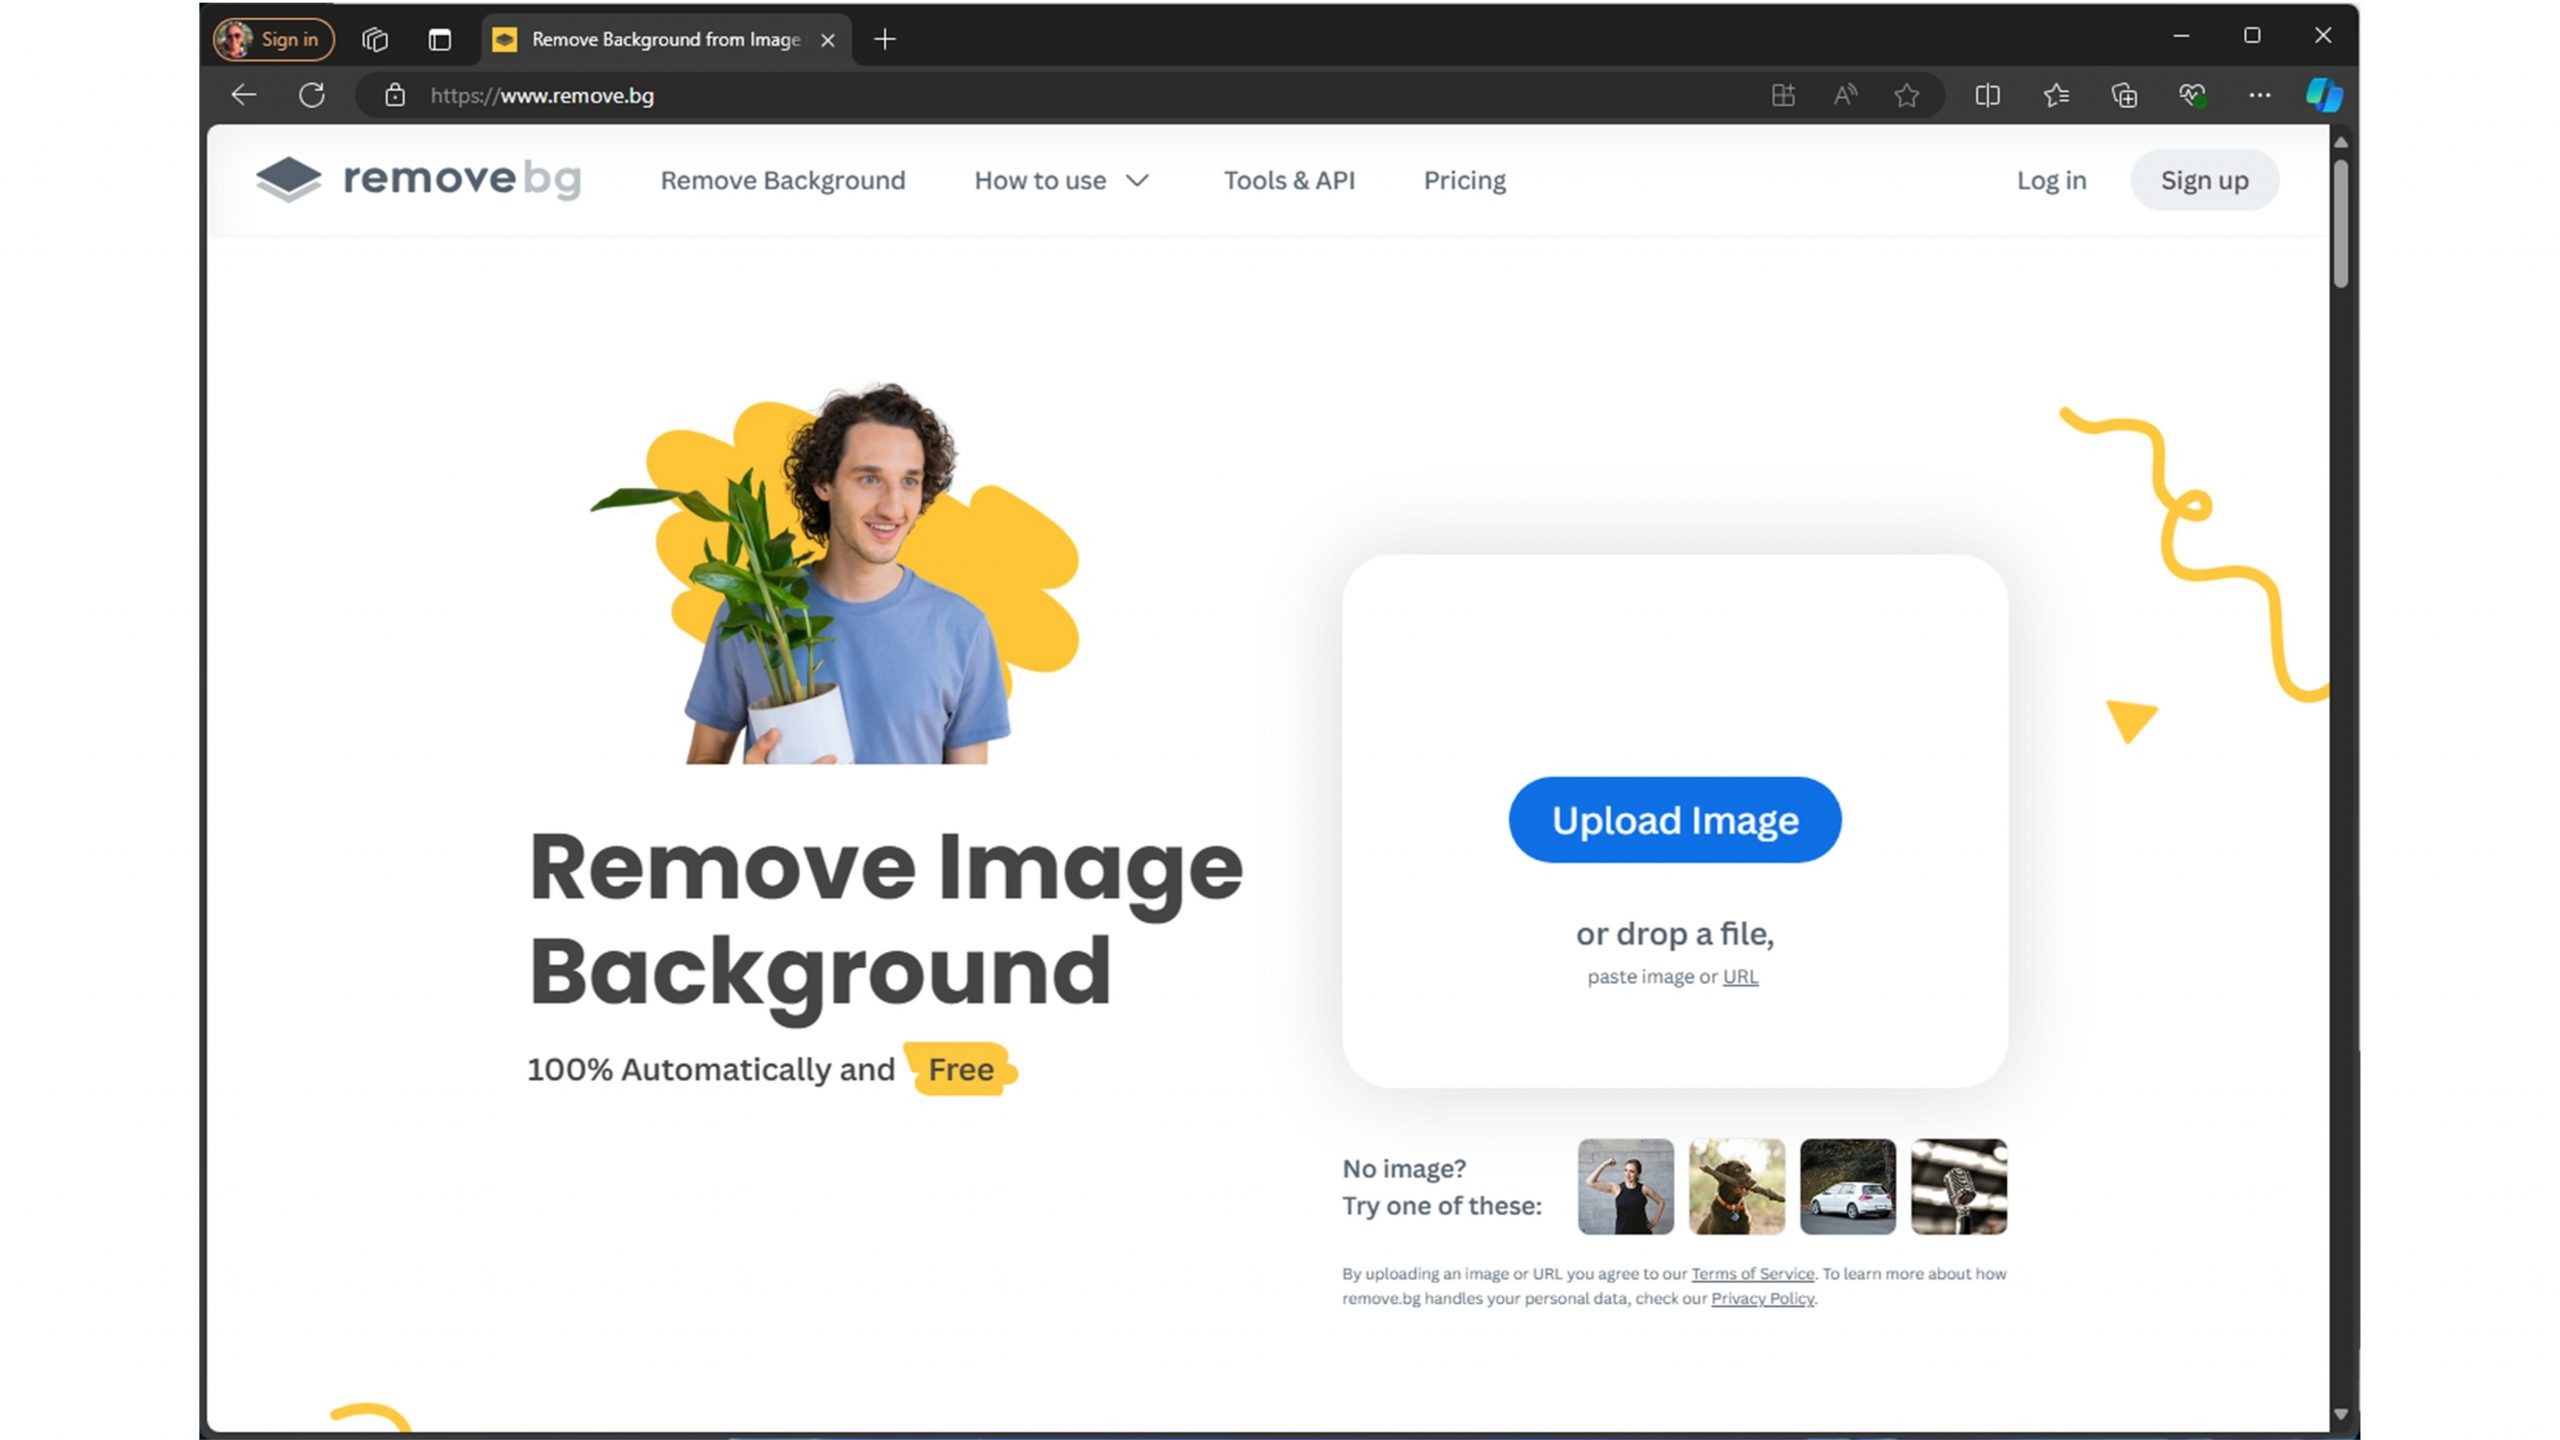
Of course, you don’t need to download and install our add-in to use the remove.bg service. You can simply head over to and use it in a browser, although this is less convenient than using it directly inside PowerPoint.
What other options are there?
You’ve now learned about three different “in-app” options for PowerPoint. But what’s available outside of PowerPoint?
Technique 4 – Windows Paint
Oh my goodness, really? That app from 1985 still exists? Oh yes. And it’s also pretty good at background removal now that Microsoft have integrated their AI service into it.
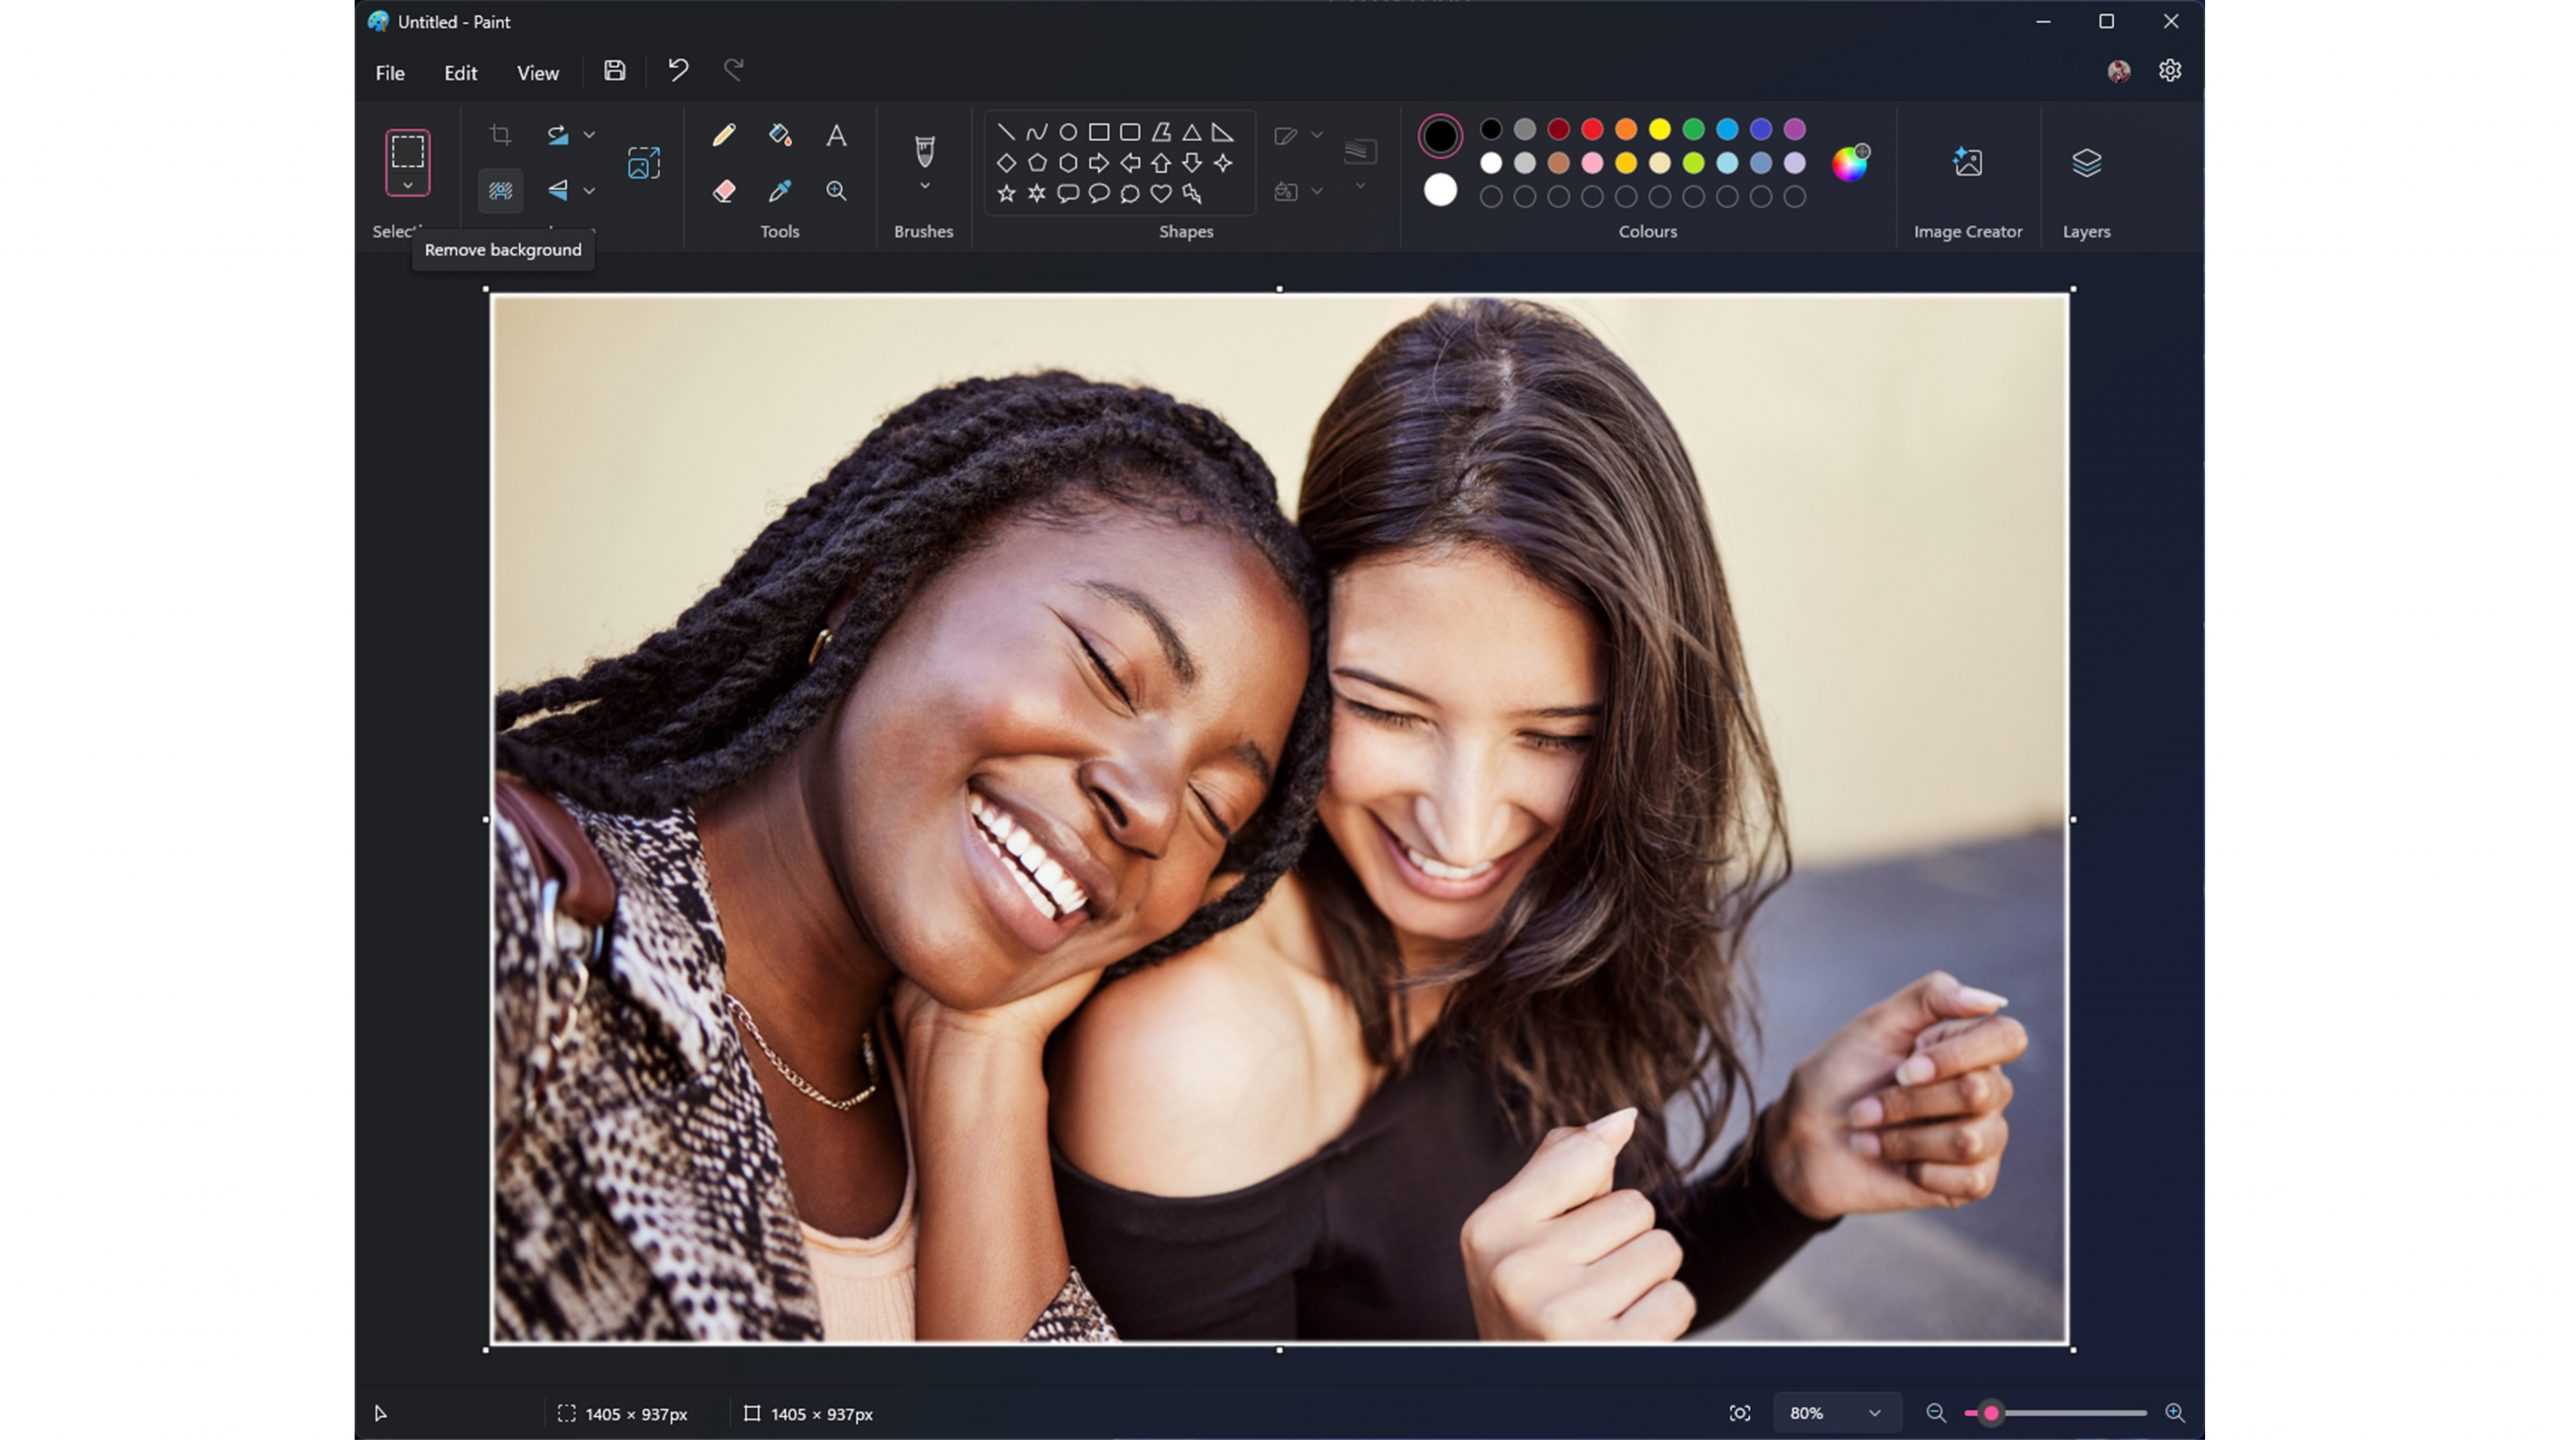
Simply type Paint into the Windows Start bar and run the app. You can open an existing file or simply paste in a picture from your clipboard:
You can see the Remove background tool in the top left of the screenshot above. Clicking that removes the background in a couple of seconds. You can then press Ctrl+A to select the entire image and then paste it back into PowerPoint:
The result is extremely similar to that of using PowerPoint Online and we suspect that these two apps are making use of the same AI service. Note the white outlines around the hair.
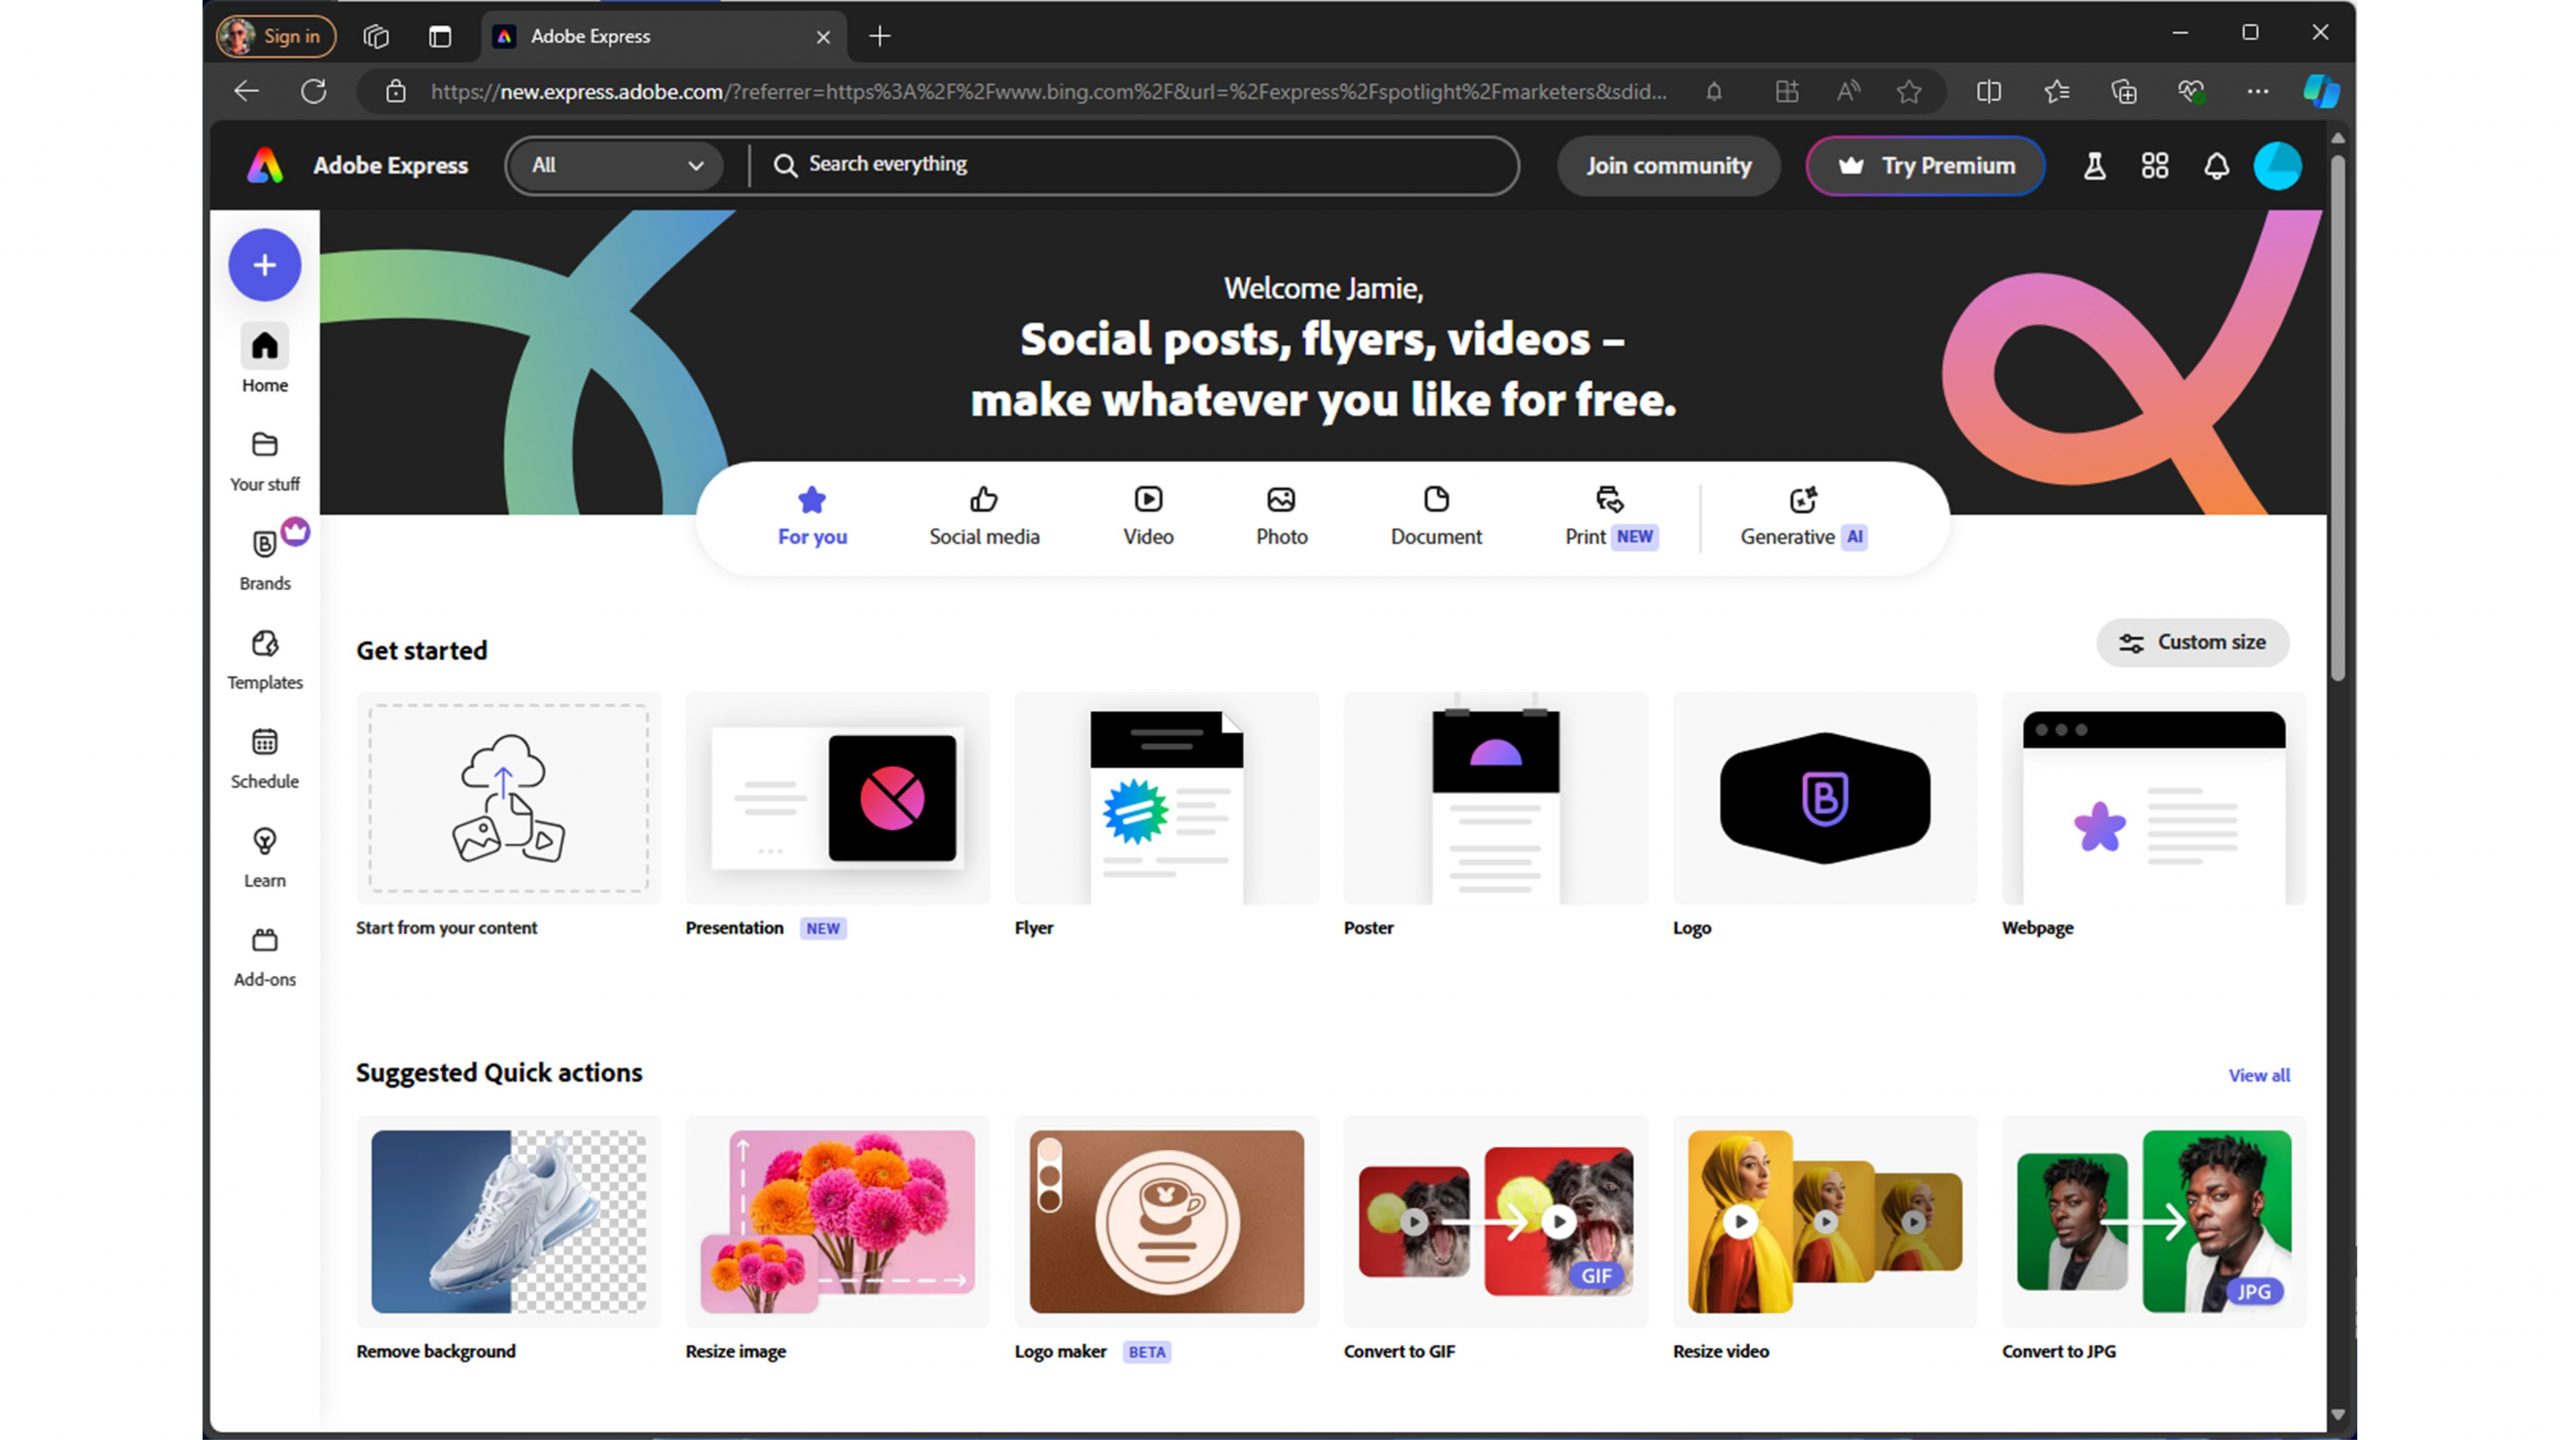
Technique 5 – Adobe Express
Moving away from Microsoft PowerPoint and Windows, it would be remiss of us to forget Adobe! Adobe Express is an online tool that can do many many things, one of which is background removal. You’ll need to set up an account, accept an arduous privacy policy and give your data away, but it’s free at the time of writing this article.
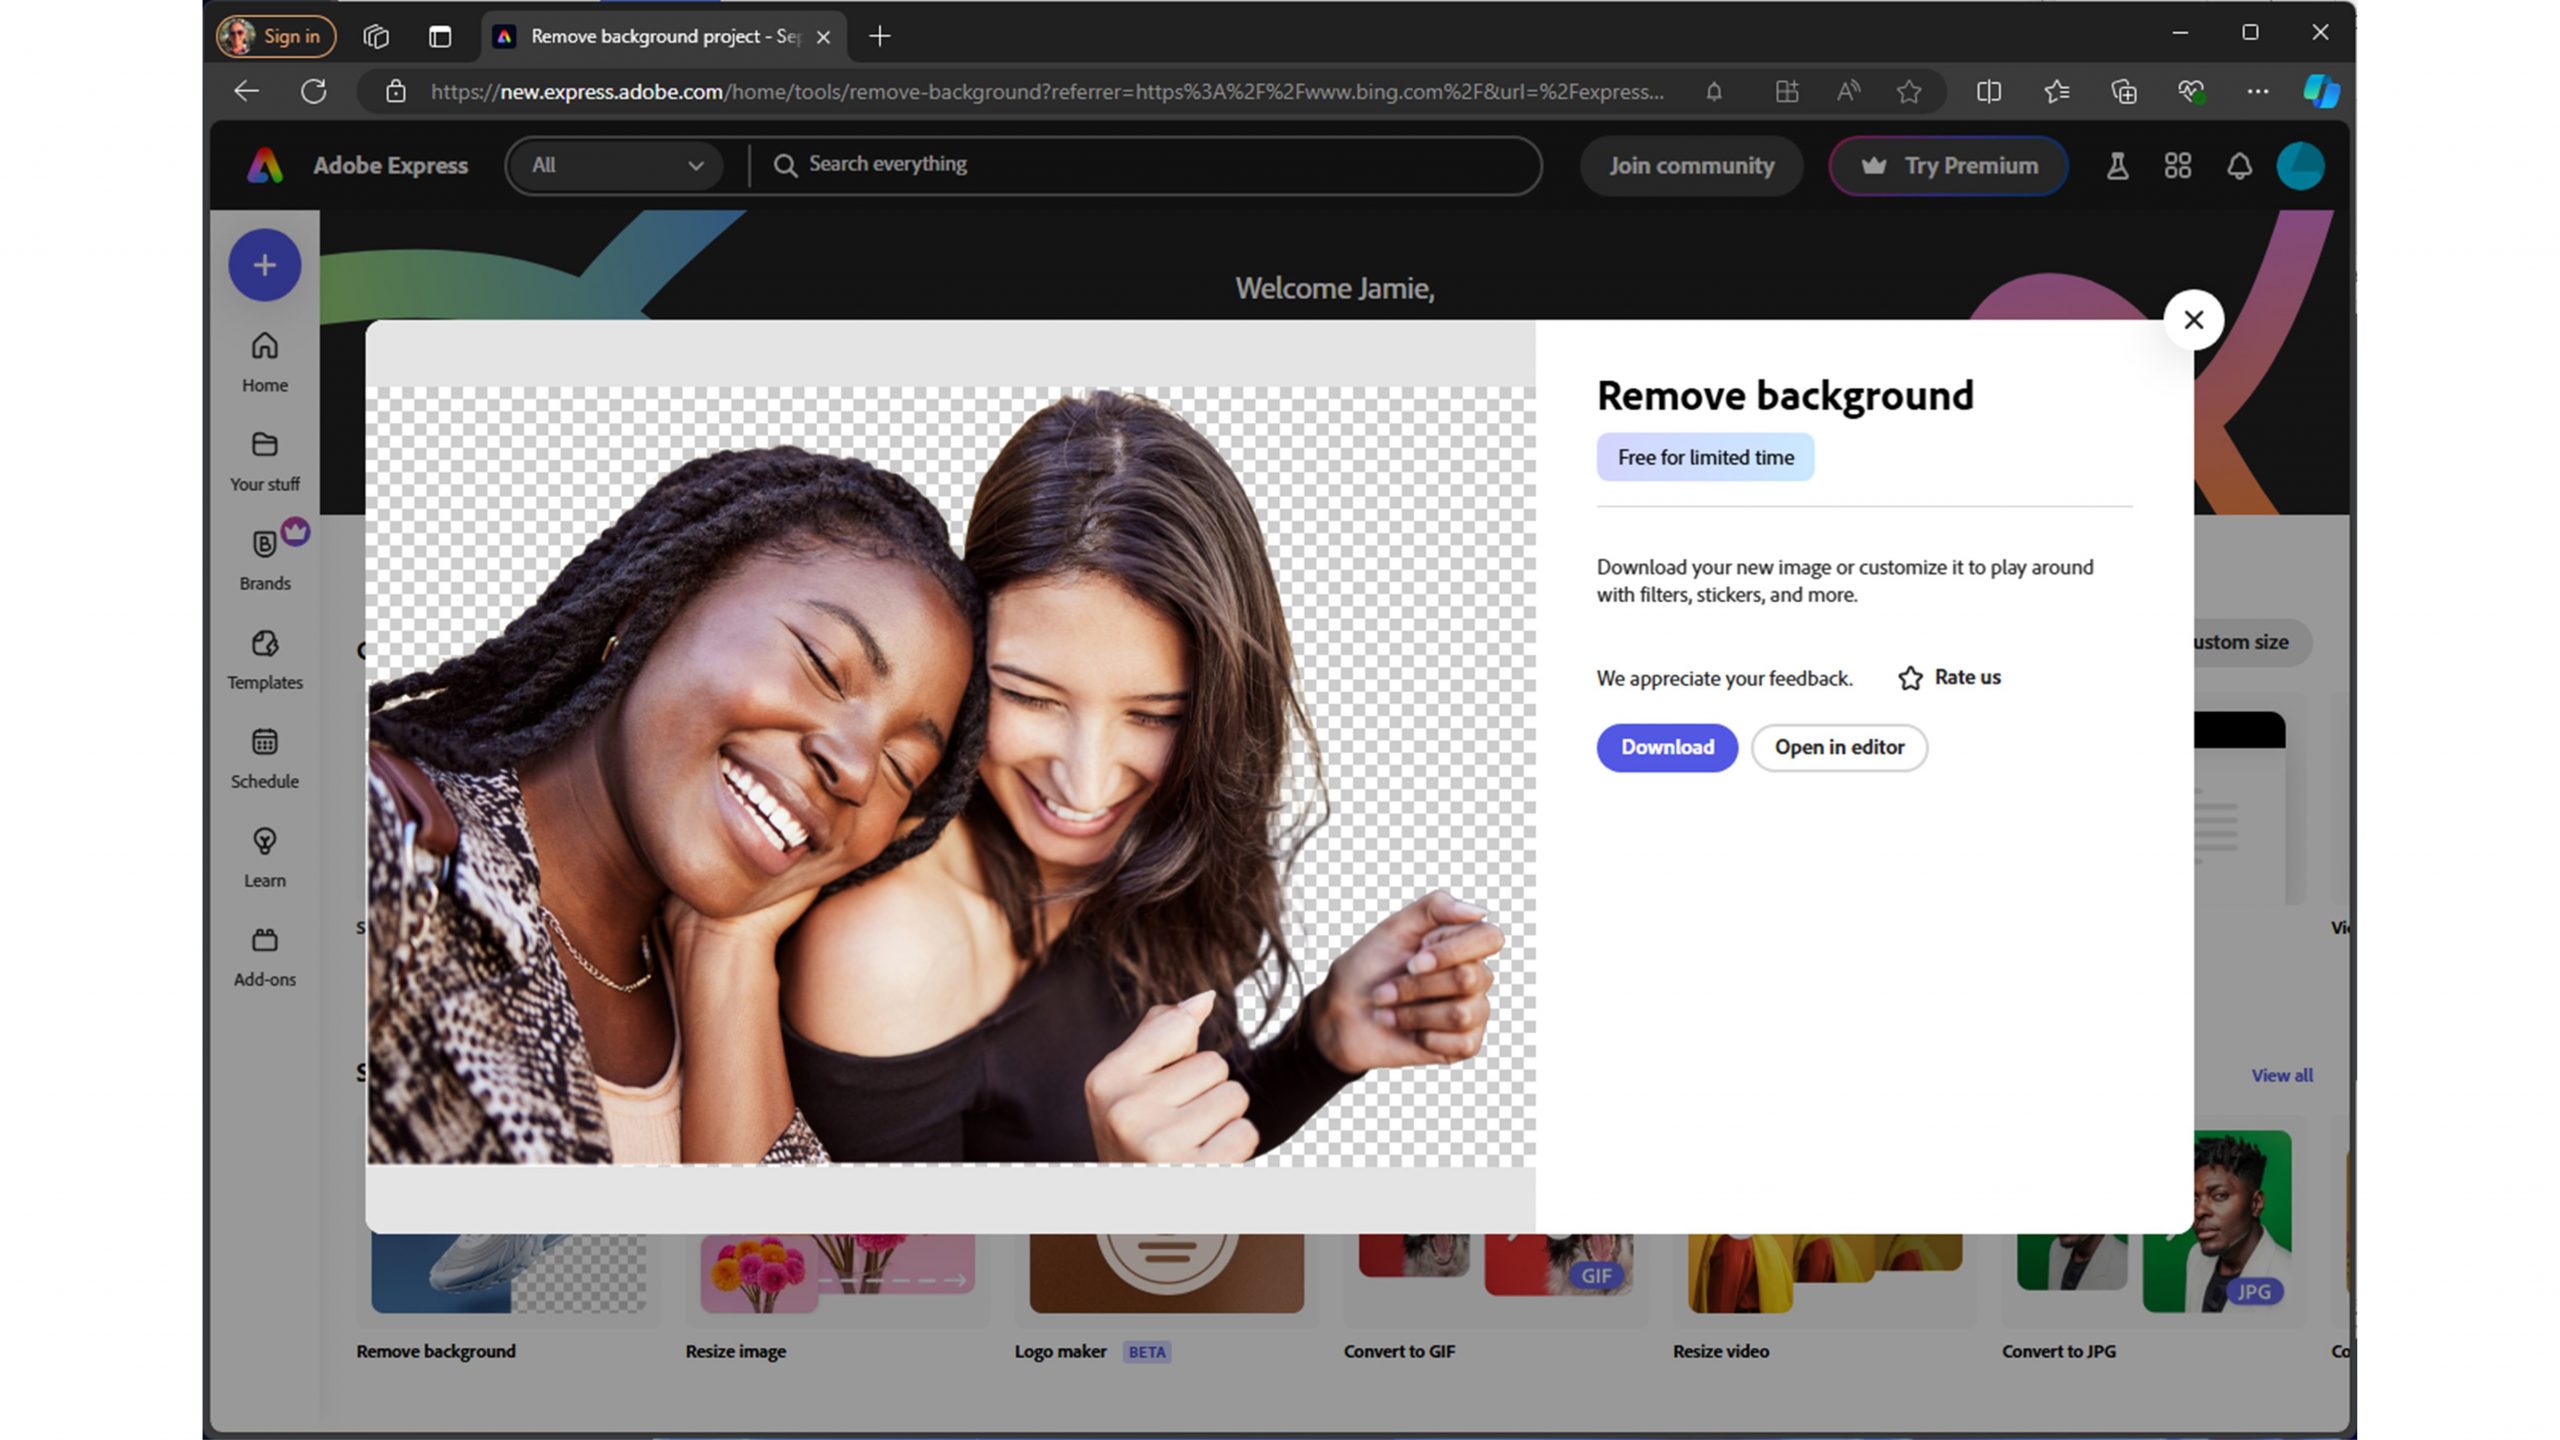
The Remove Background tool is in the bottom left-hand side of the screen. Click that and you’ll be asked to “Drag or drop an image or browse”. It’s a shame it can’t access the clipboard because now there are more steps to get the original image out of PowerPoint and into Adobe Express. Here’s the same image after it’s been uploaded and processed, in a second or so:
You can then simply click the Download button and then import the resulting PNG file back into PowerPoint:
One word. Hair!
Technique 6 – Adobe Photoshop
If you’re lucky/wealthy enough to own a subscription to Adobe Creative Cloud, you have access to one of the world’s best photo editing apps. Let’s see how it performs with our two friends:
Again, not bad for one click. However, as our designer guinea pig said, it needs a bit of ‘tinkering’ to sort out (say it together!) the hair!
So, which image background removal tool is best?
We really can’t tell you as this is so subjective. We asked dozens of designers at BrightCarbon and got many different replies. It really depends on the image and what background you’re going to place it on, dark or light, gradient, textured etc.
That said, knowing how difficult hair is to isolate, we have been extremely impressed by the performance of remove.bg and it’s pricing.
Which do you think is best when using this image from the M365 stock images:
In reality, you would probably use this image on a light background but we’ve intentionally shown it on a dark one so you can really see the performance difference between each option.
Placeholders in PowerPoint form part of a layout and keep content in the right place on a slide. But sometimes, you want the names you see in the Selection Pane in the slide to follow what you set in the master. We're going to unravel a bit of PowerPoint history and find a solution to this conundrum in the process.
How do you make sure that your graphs and charts have consistent branding across Excel, PowerPoint and Word? Learn how to create and use custom templates that support your brand identity across Microsoft Office.
Tints and shades auto-generated by Microsoft from Theme Colors often take your content off-brand. How can you get the custom colors you want in PowerPoint? Read on to find out!
All of the content I've seen so far has been valuable and definitely worthwhile. The resources are awesome, and you're really crushing it with useful content.